1. OVERVIEW
2. HOW TO CREATE A NEW DISH ORDER
3. EXAMPLE OF USING AUTOMATIC PRINTING
A dish order defines the course of dishes when you place an order with Revo XEF.
You can associate the dish order with categories or products so that it applies automatically, or you can select it manually in the app. Simply choose a dish order (such as starters or mains) and select the products being ordered. This way, the orders are organised to reach the kitchen in the correct sequence.
1. OVERVIEW
1. Access the Revo XEF back-office.
2. Go to Settings / DISH ORDERS.

- Save Order: Save the new dish order.
- + New: Create a new dish order.
- : Search for a dish order.
- Actions: Delete one or more selected dish orders.
- : Select one or more dish orders.
- : Reorganise the dish orders.
- : Dish order enabled or disabled.
- Name: Name of the dish order.
- Type of automatic printing: Indicates the type of printing for that dish order.
- : Edit the dish order.
- : Delete the dish order.
2. HOW TO CREATE A NEW DISH ORDER
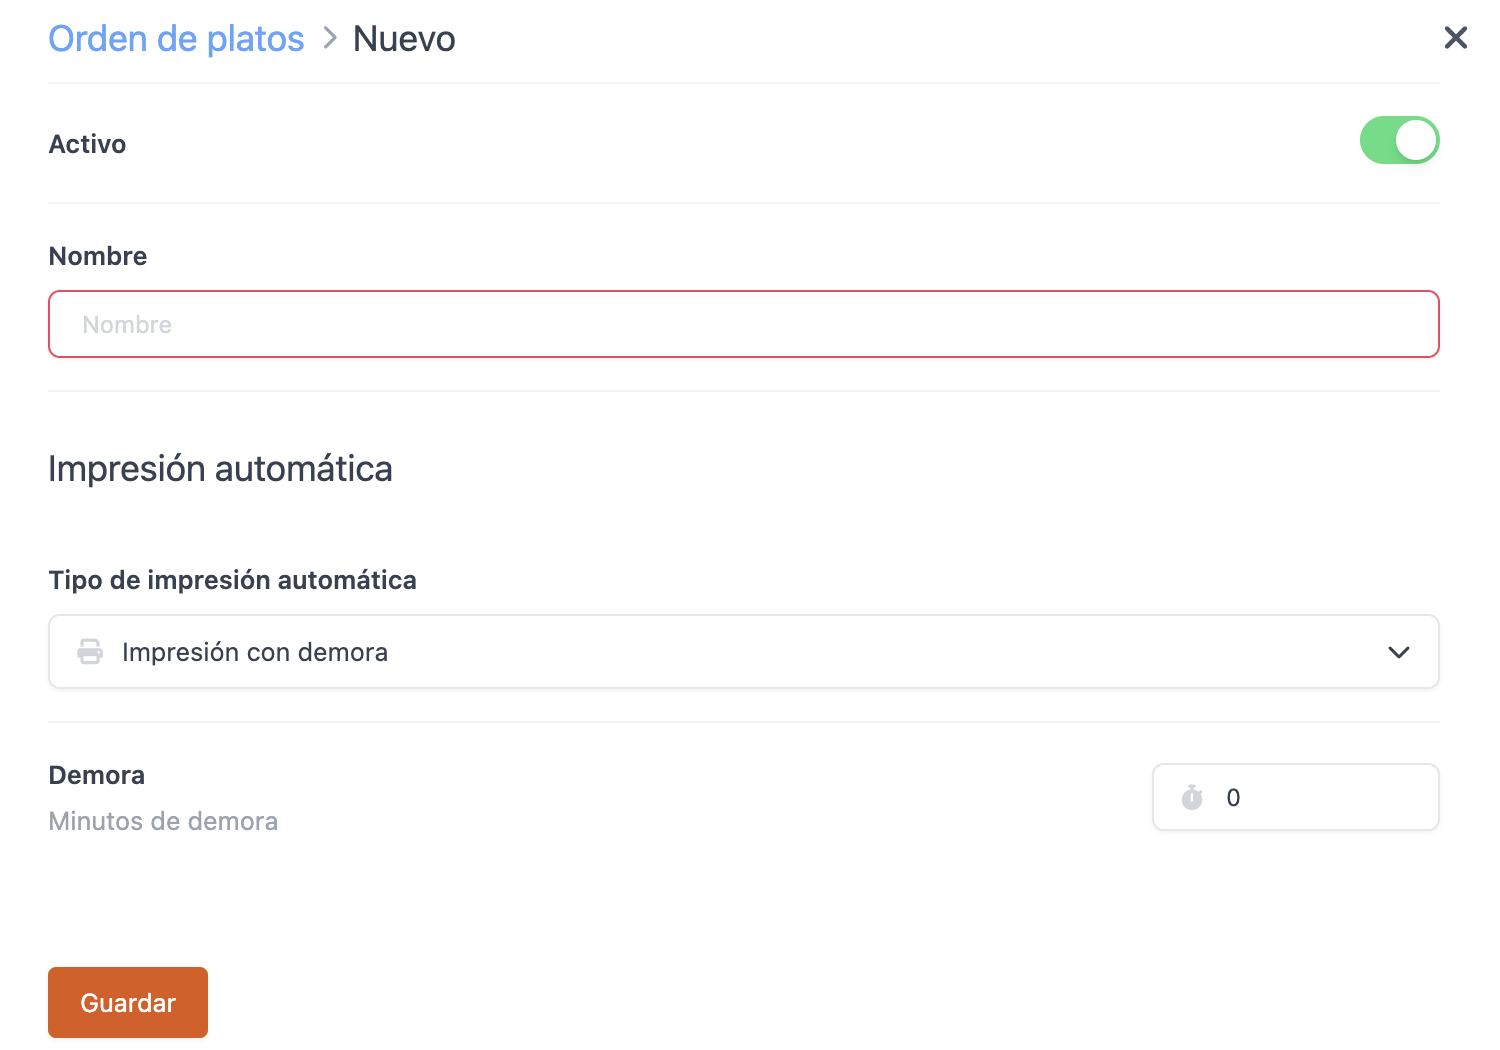
1. Click on + New and complete the information:
-
Active:
-
Name: Enter a name to identify it.
-
Type of automatic printing:
AVAILABLE FROM VERSION 4.3
Works for table orders made from Revo SOLO. Orders for Delivery do not apply these settings.-
No: Do not print automatically.
-
Yes: Print automatically.
-
Delayed Printing: Print automatically after a defined time.
-
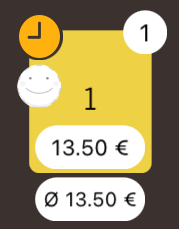
Delayed Notification: A clock appears in the top left corner of the table after a defined time.
-
-
Delay: Specify the minutes to delay printing or notification.
2. Press Save.
3. Assign the dish order to the category or product. Edit an existing item with or create a new one.

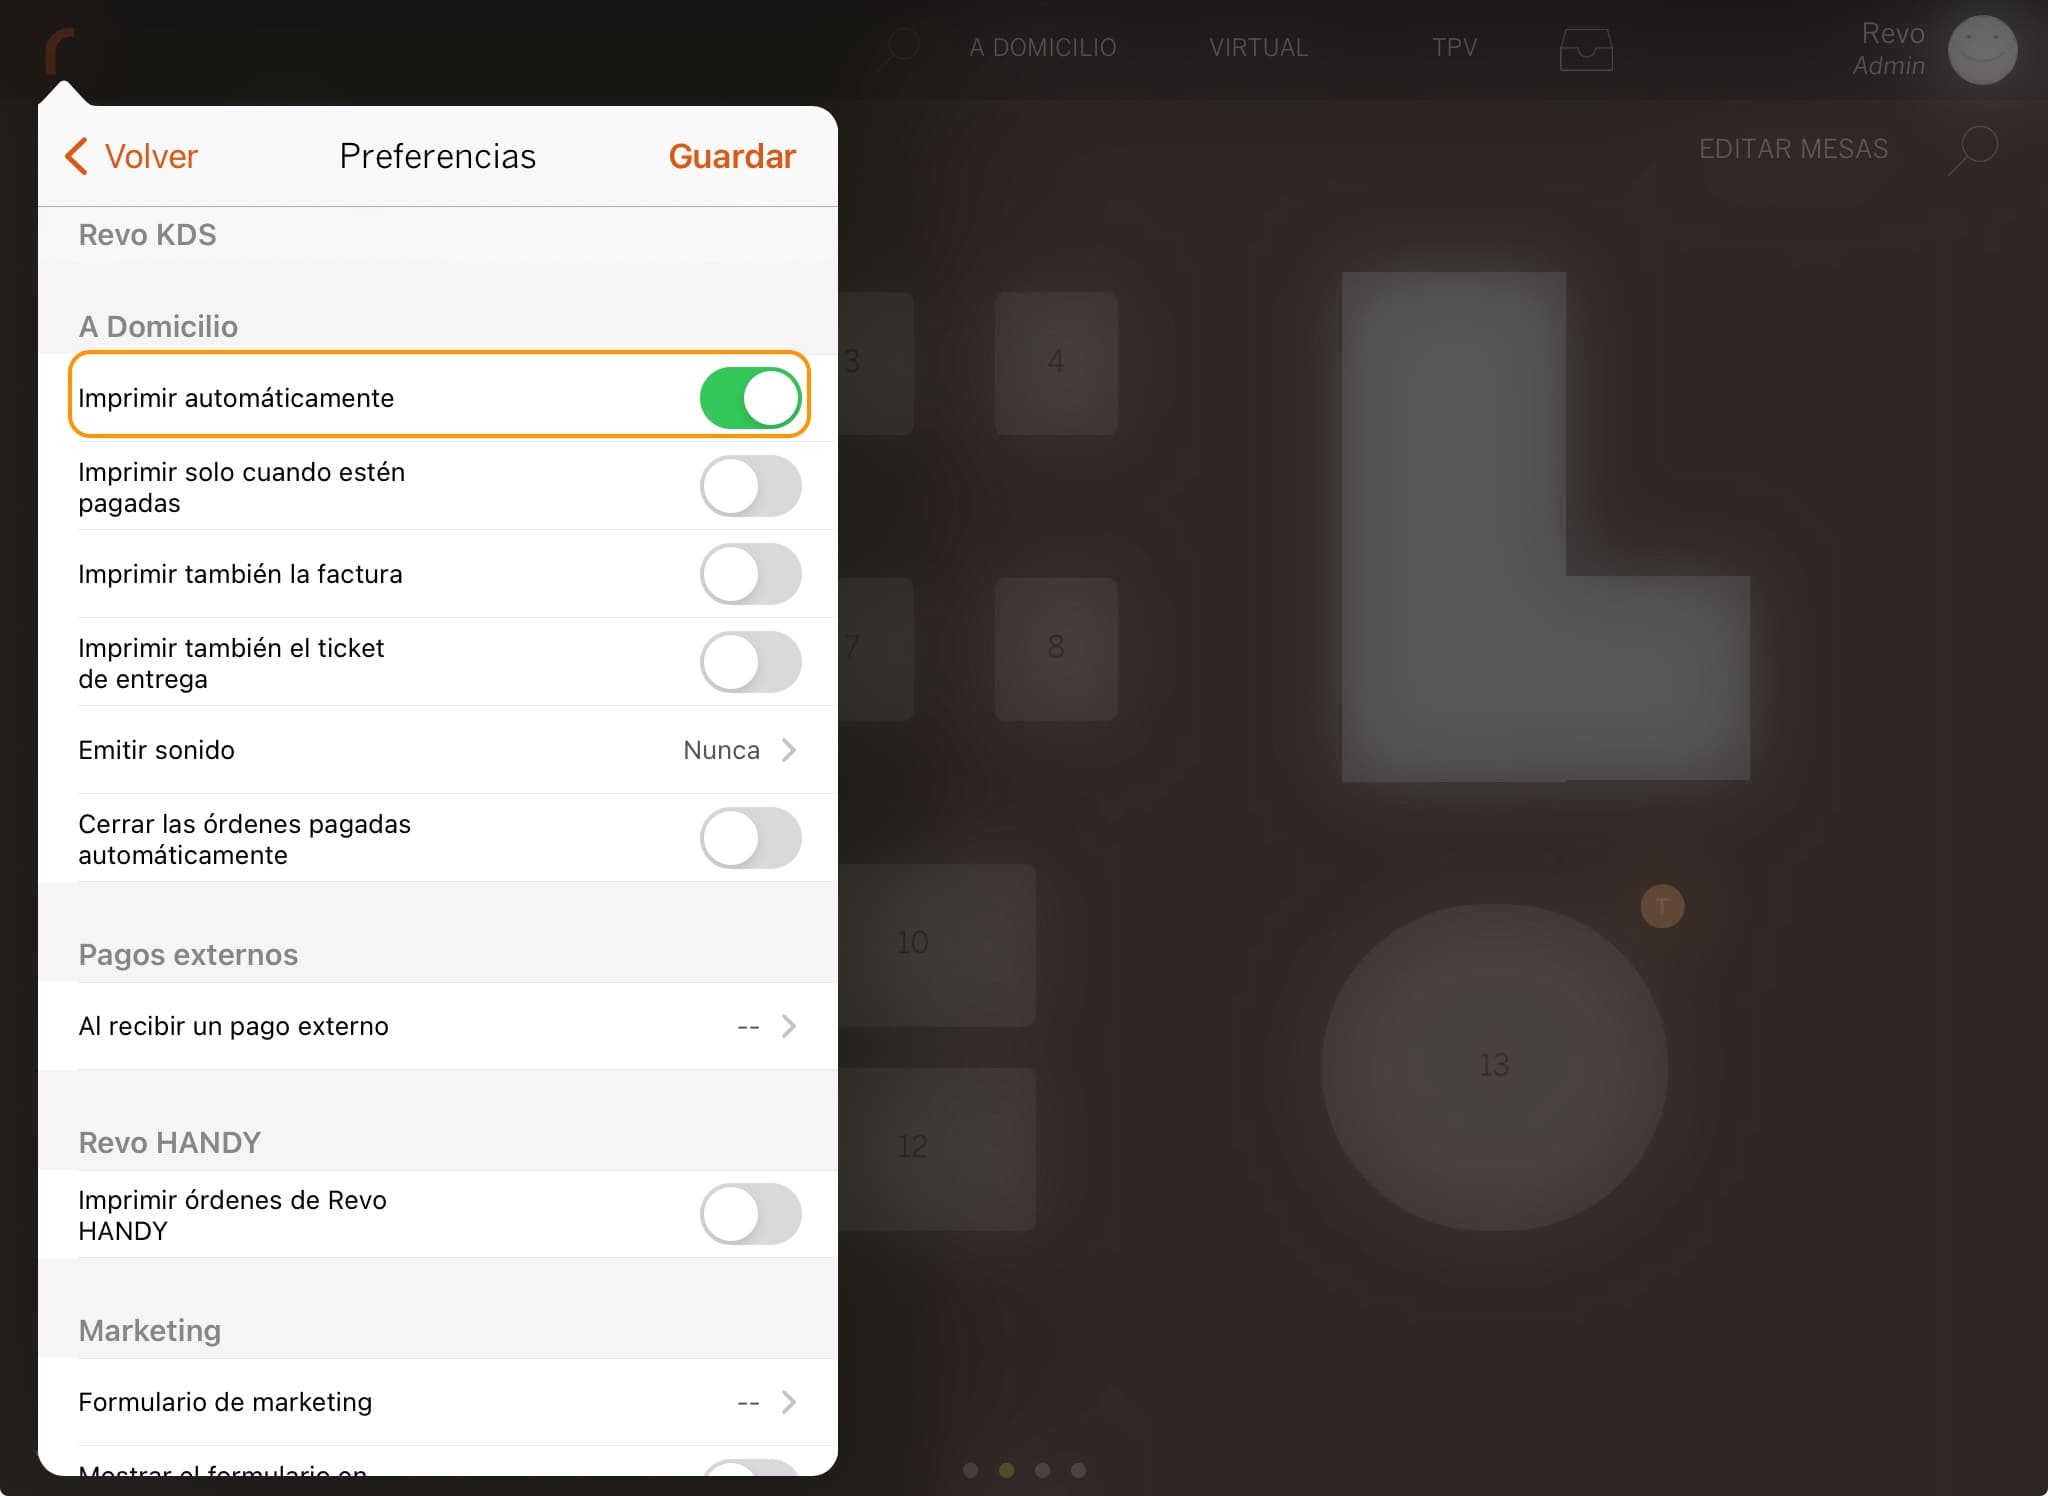
IMPORTANT: For automatic printing to work, enable Auto Print in the app preferences on at least one device. Make sure the app is not closed or the device turned off.
3. EXAMPLE OF USING AUTOMATIC PRINTING
You can automate printing so that the server does not have to send them manually. This way, dishes arrive smoothly in the kitchen, and you prevent customers from waiting too long between courses.
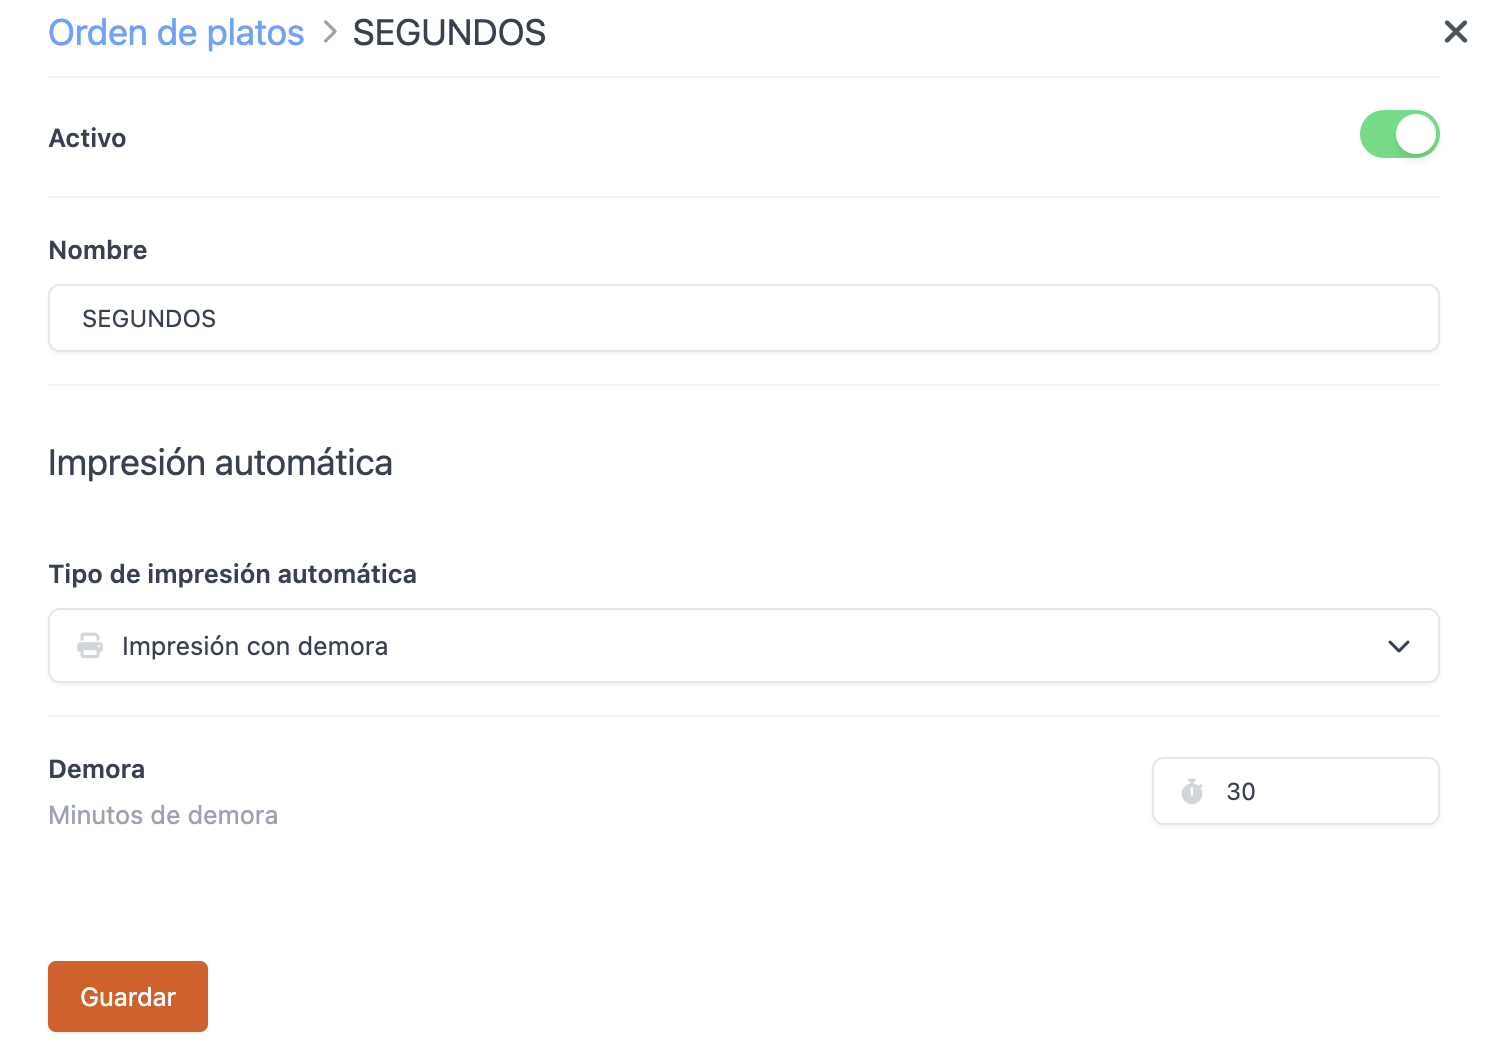
For example, you could set the drinks and starters to print upon saving the order. The main courses print 30 minutes later, and the desserts 45 minutes later. In the back-office, it would look like this:

Make sure that Auto Print is enabled in the app: