1. HOW TO ENTER MENUS IN THE APP 2. MENU FAQ HOW TO ENABLE QUICK ENTRY OR SIMPLIFIED VIEW IN REVO XEF? WHICH OPTION IS MOST EFFECTIVE? WHAT IS SIMPLIFIED VIEW? CAN YOU SELECT A STARTER AS A MAIN COURSE OR VICE VERSA? WHAT TO DO IF THE MESSAGE: INCOMPLETE MENU APPEARS? ONCE THE MENU IS ADDED TO THE ORDER, CAN YOU MODIFY IT? WHAT TO DO IF A CUSTOMER ORDERS A MENU WITH INCLUSIVE DRINKS AFTER DRINKS WITH COST HAVE BEEN ENTERED? IF YOU ADD A NEW DINER WHILE SELECTING A MENU FOR MULTIPLE PEOPLE, DO YOU HAVE TO START OVER?
Menus have a different typology from other products due to their composition (starters, mains, etc.). With Revo XEF, you can configure and create as many menus as you need for your business.
Before using them in the app, you need to make some prior configurations. Consult this article to learn how to manage them in the back office.
1. HOW TO ENTER MENUS IN THE APP
Once the menus are created in the back office, you need to decide how to manage them in the app. You have two options:
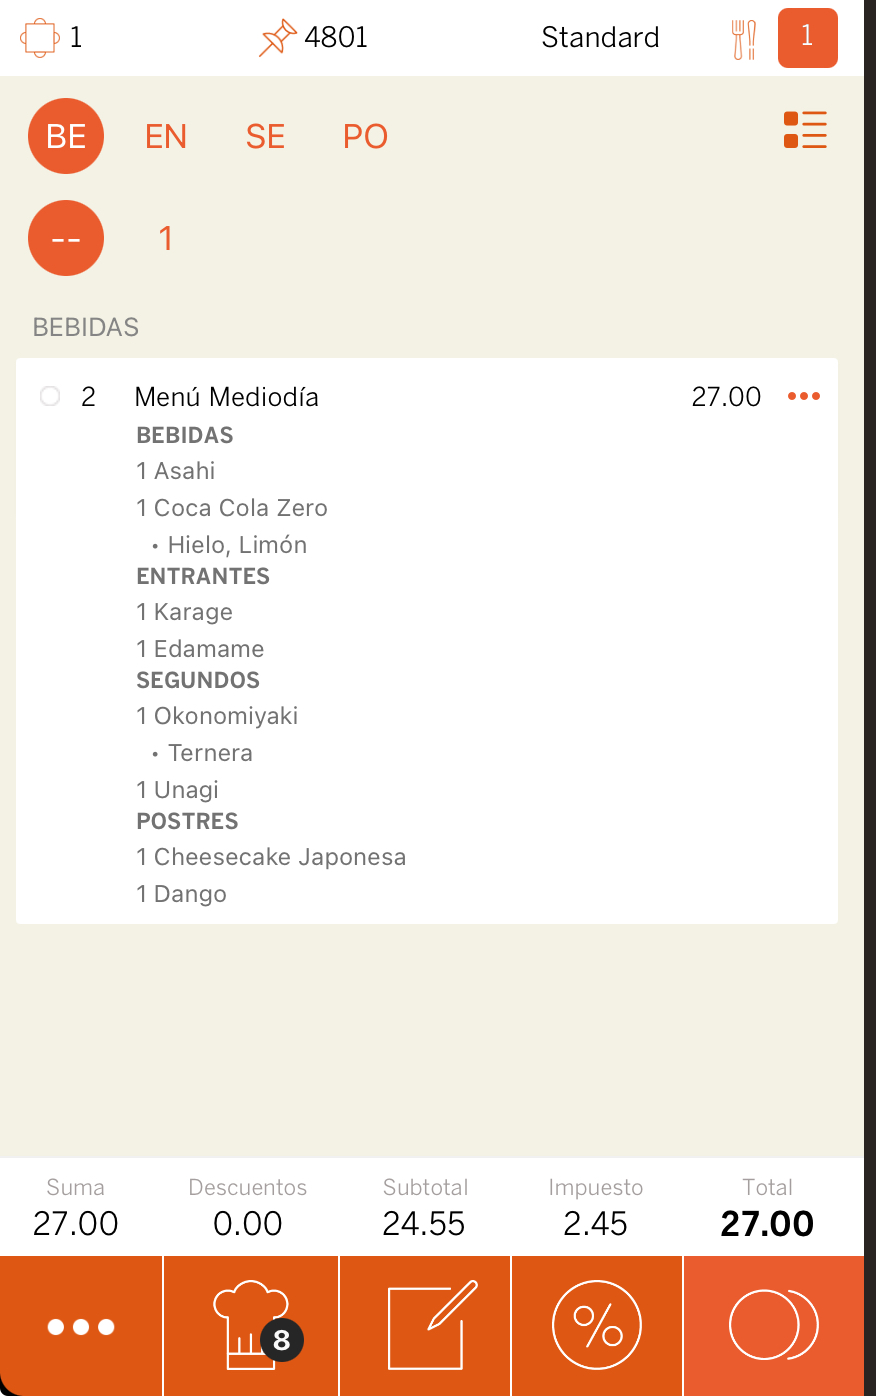
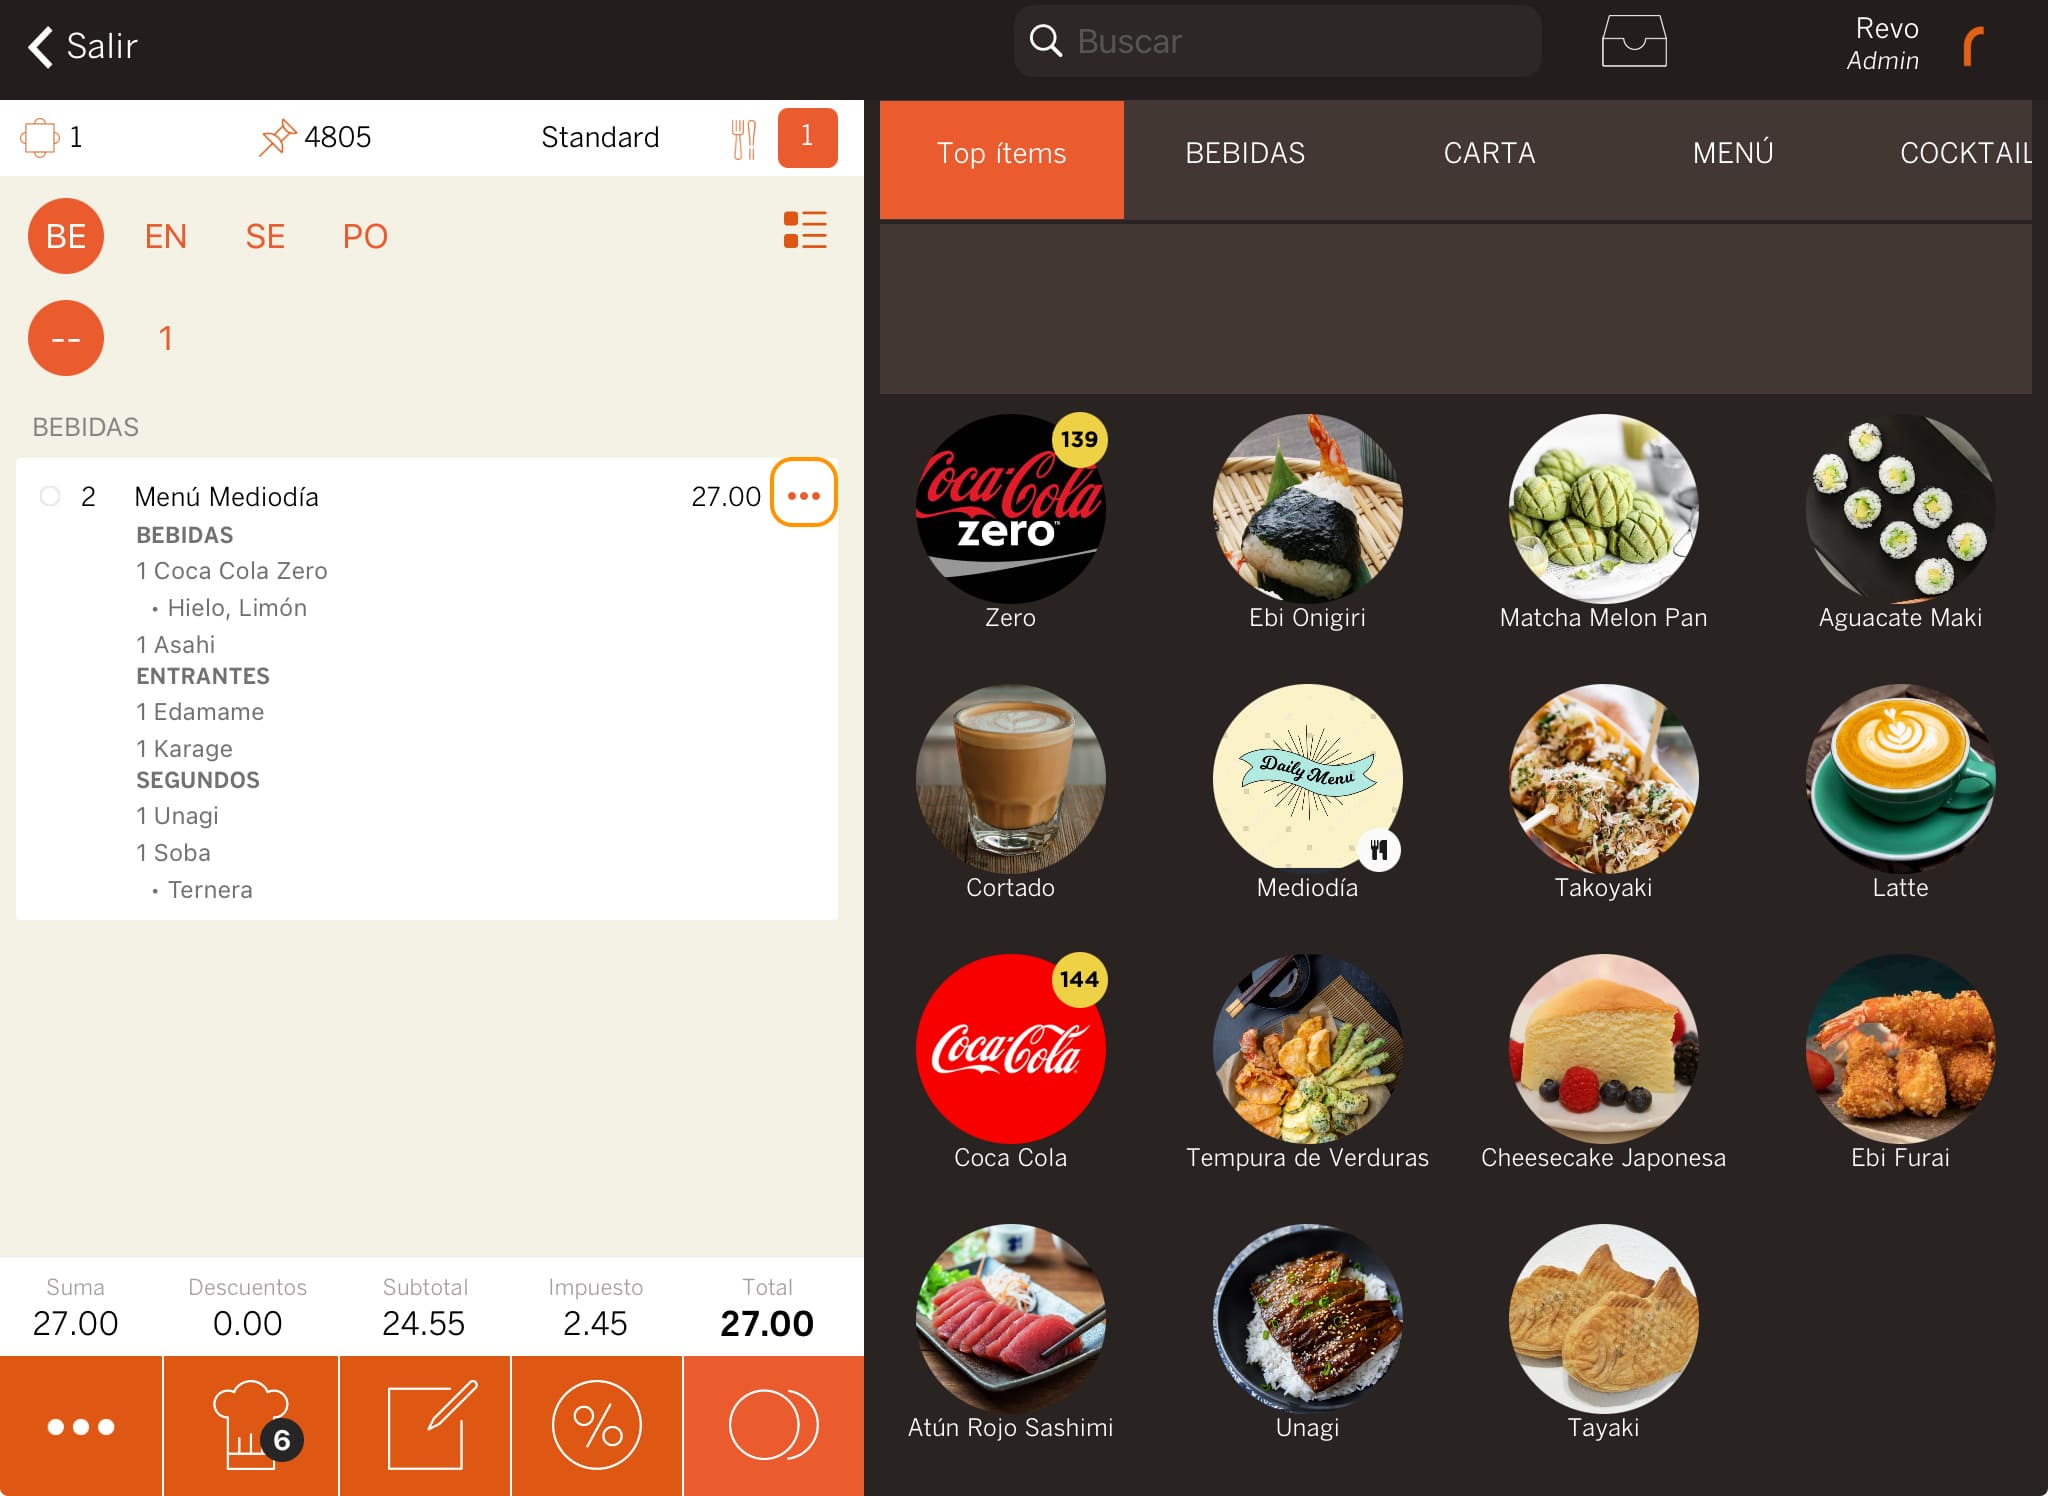
1. Quick Entry NOT Enabled:
Menus are managed individually. Each time you select a menu, you will be asked to choose each dish (starter, main course, dessert, drink).
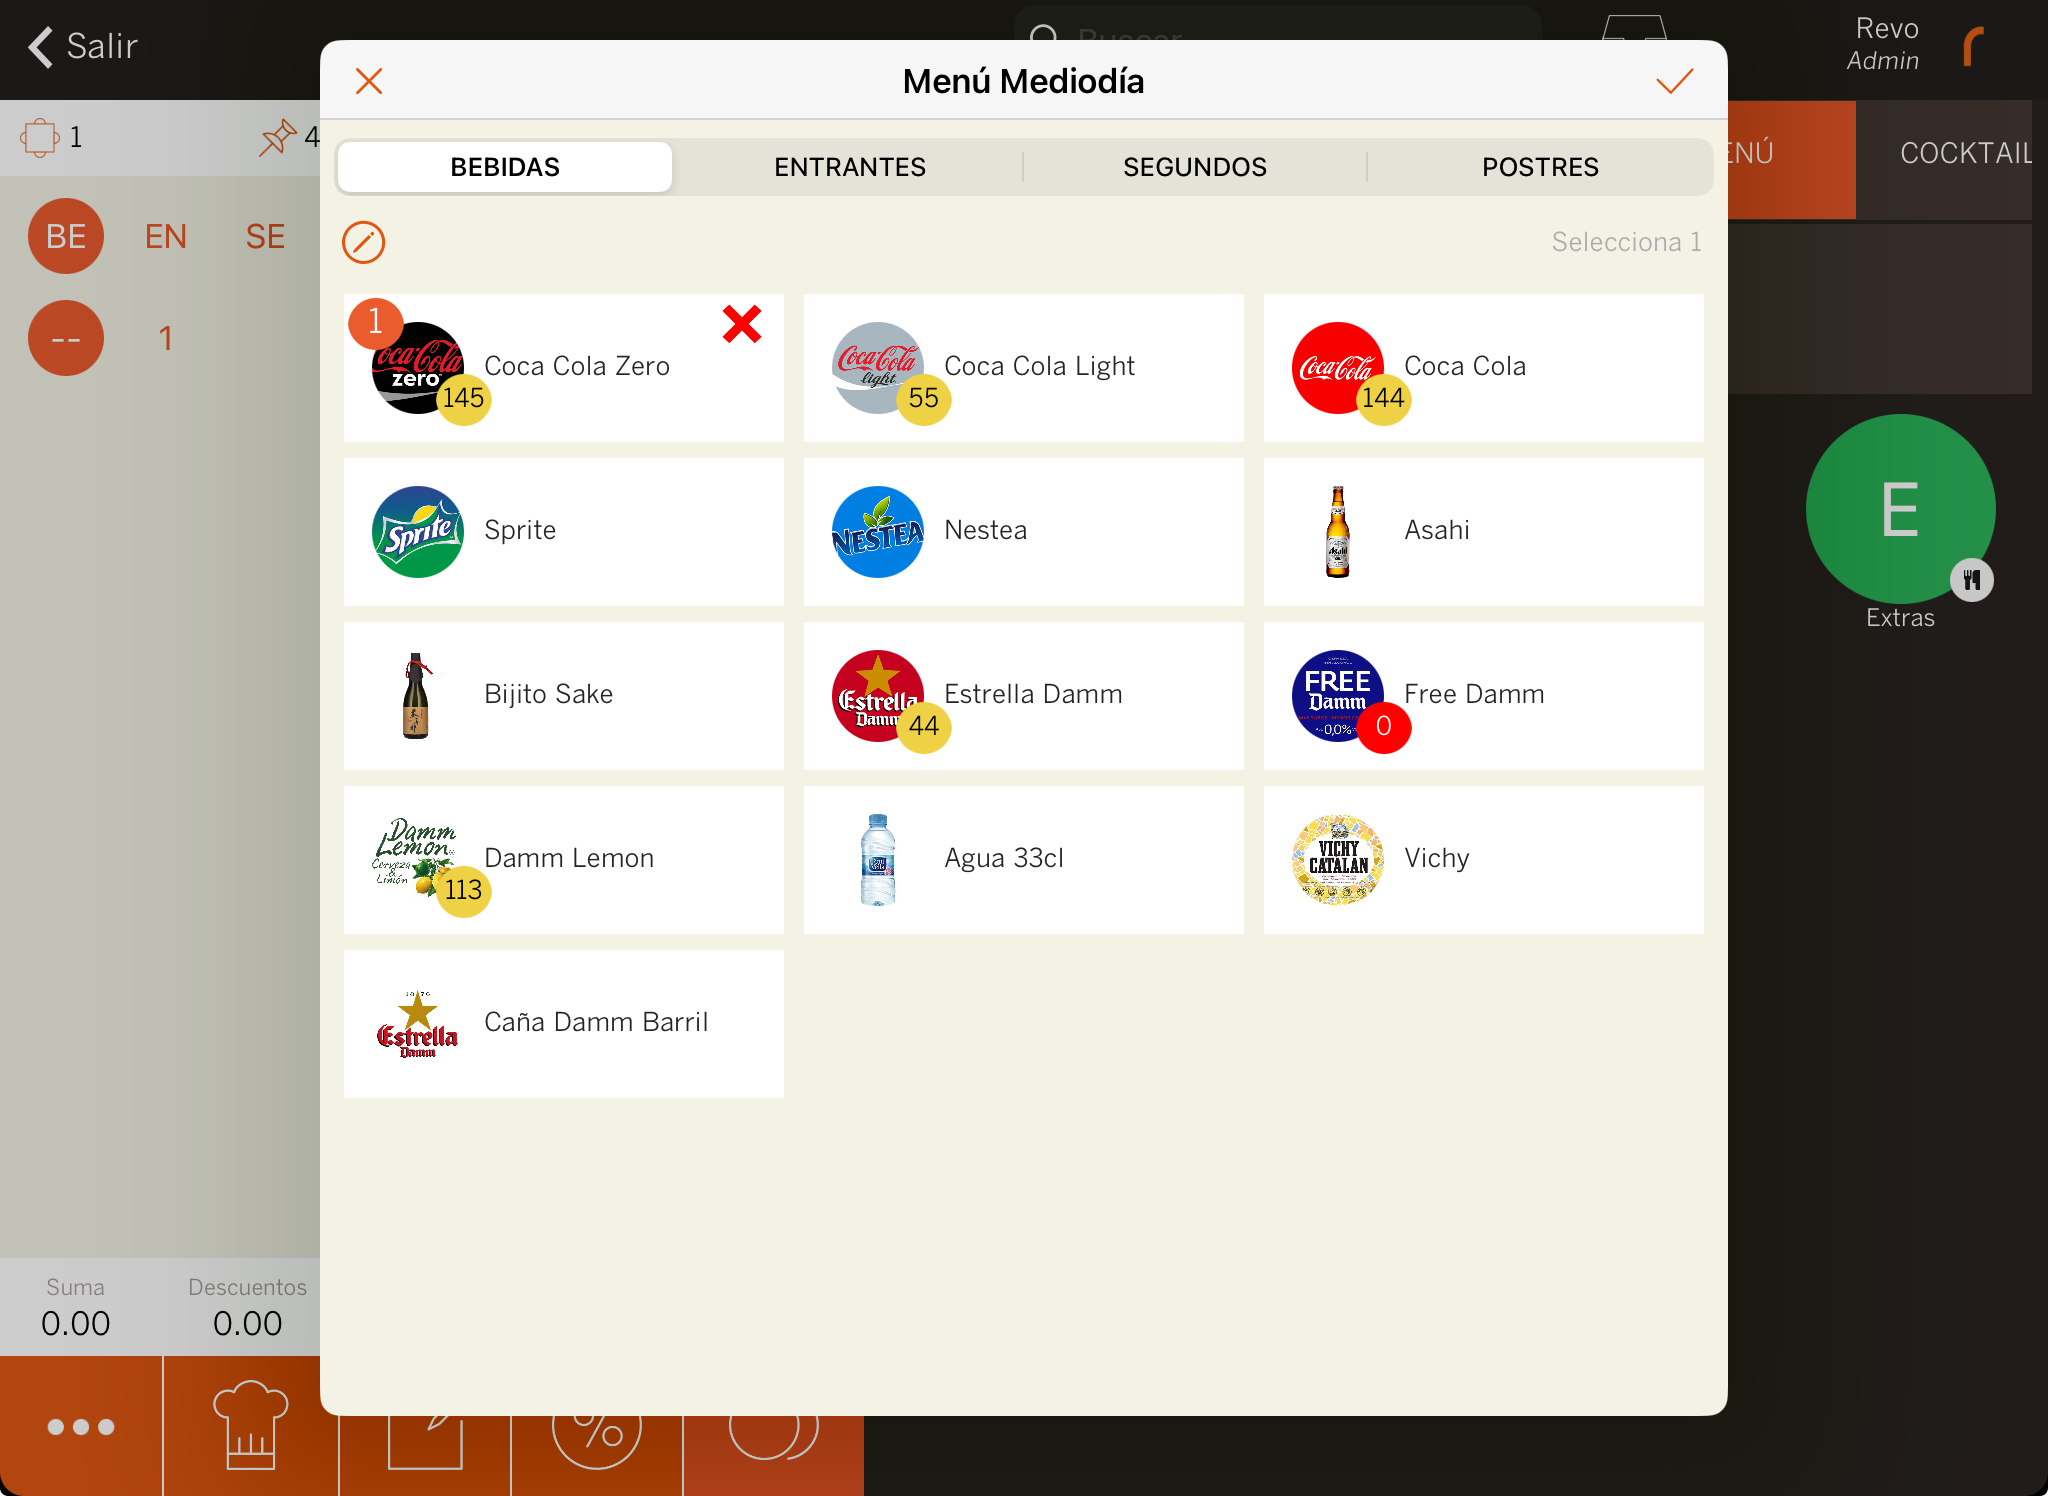
-
Select a starter, a main course, a dessert, and a drink. Switch between dish courses from the top or by swiping your finger.
In the back office, you can customise how to select products: one option, multiple options, mandatory, or default.
-
Press to add the menu to the order.
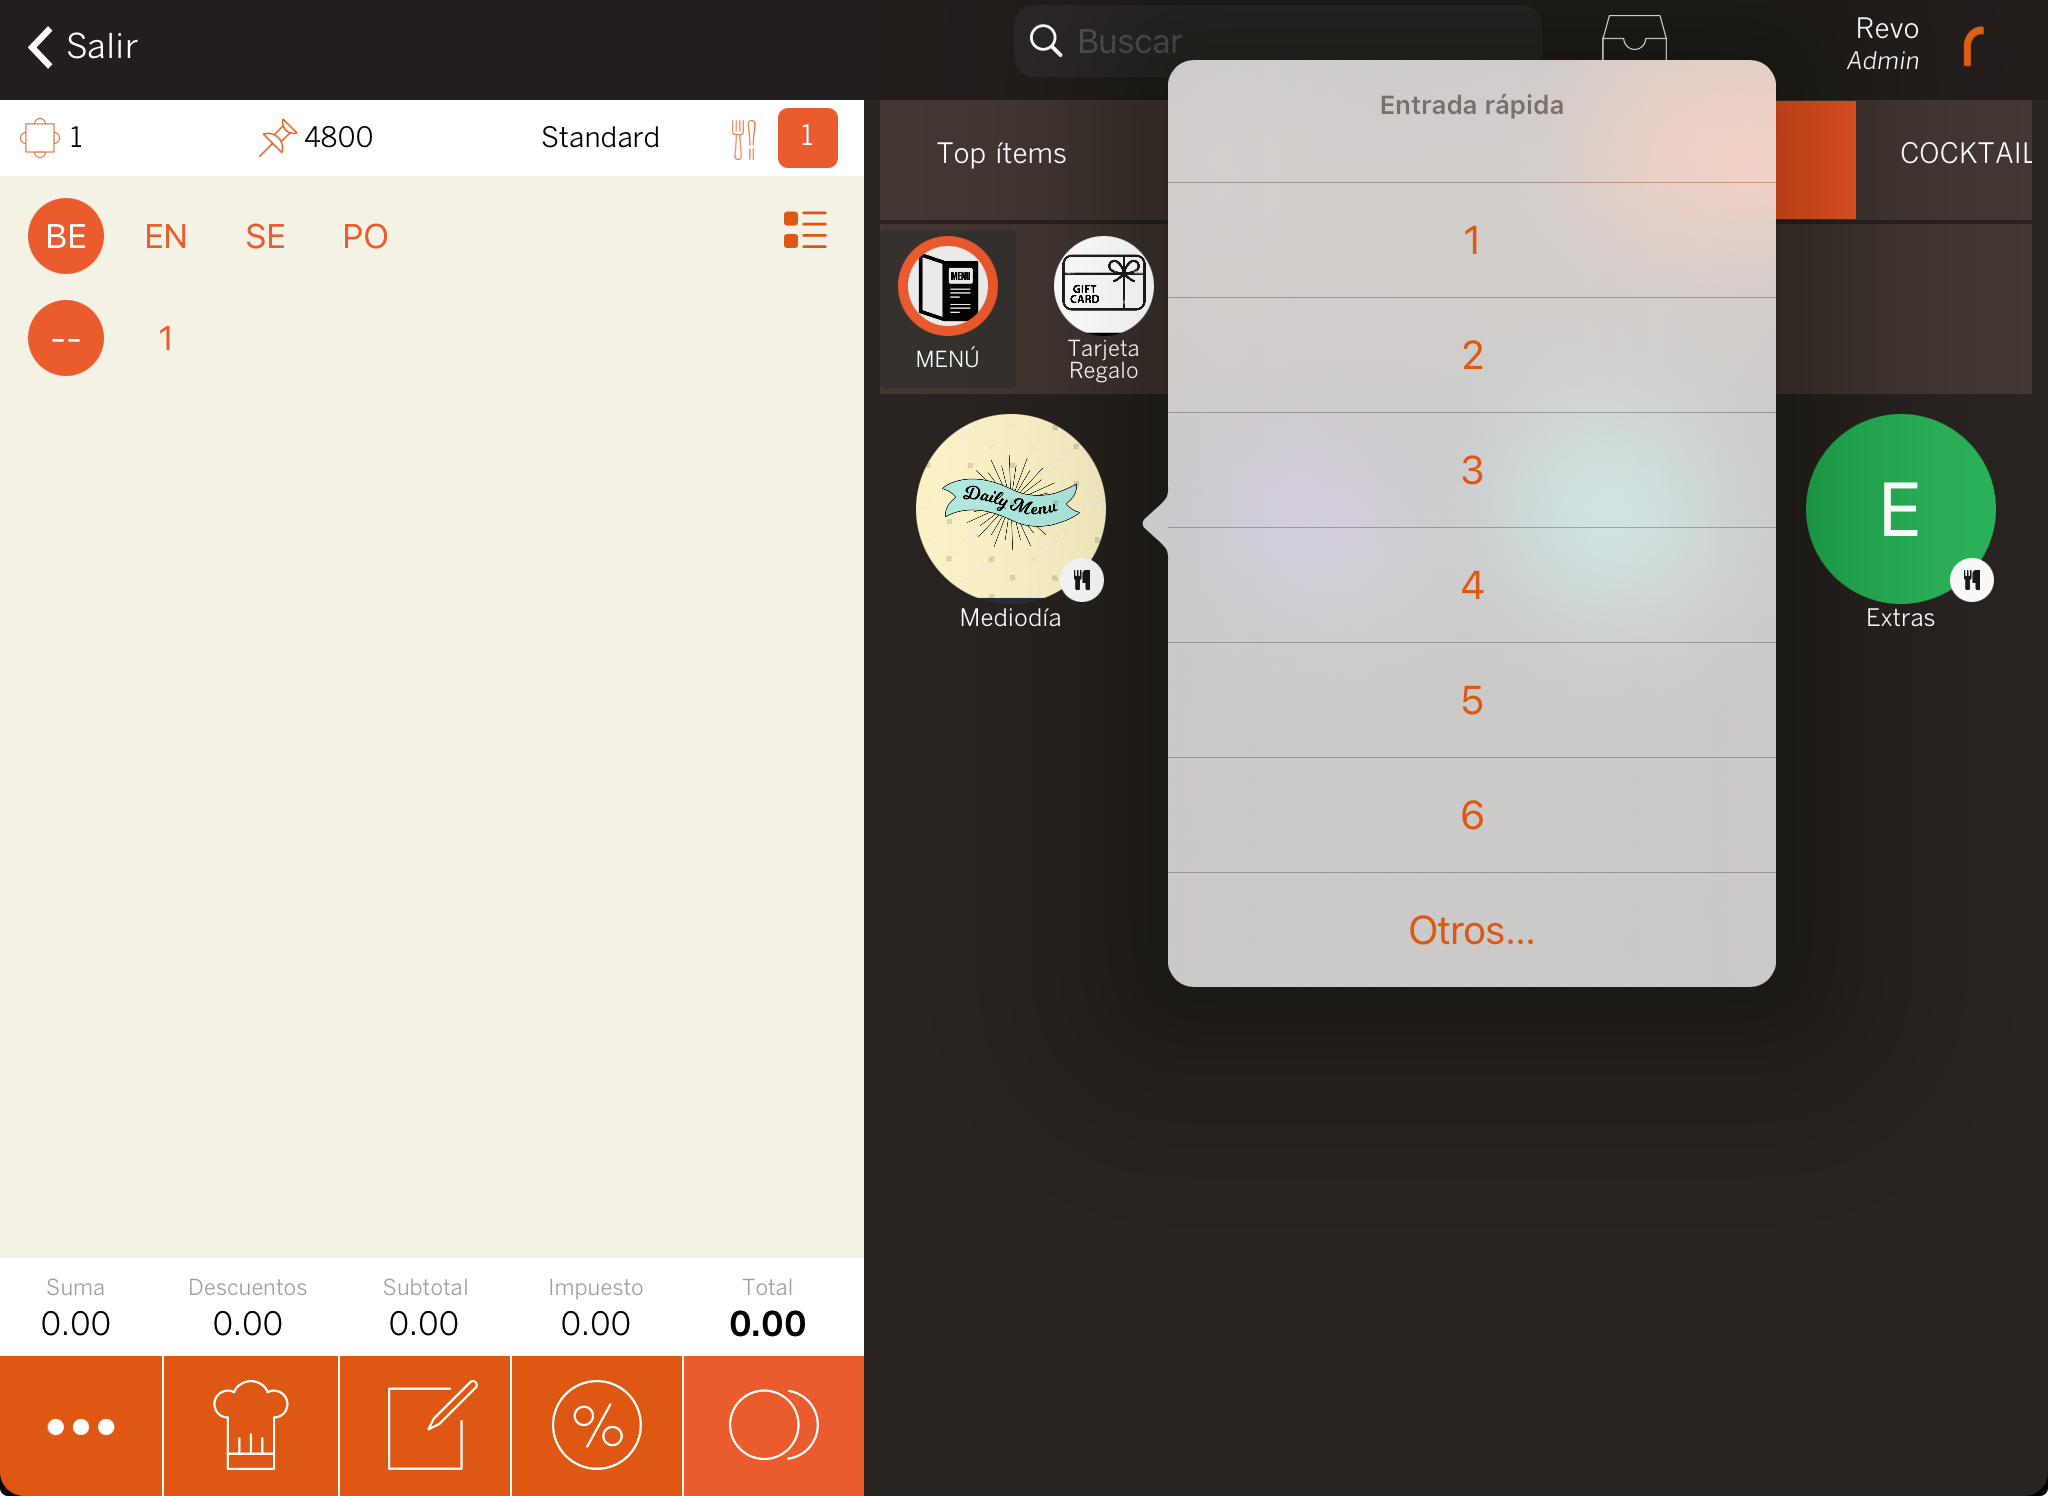
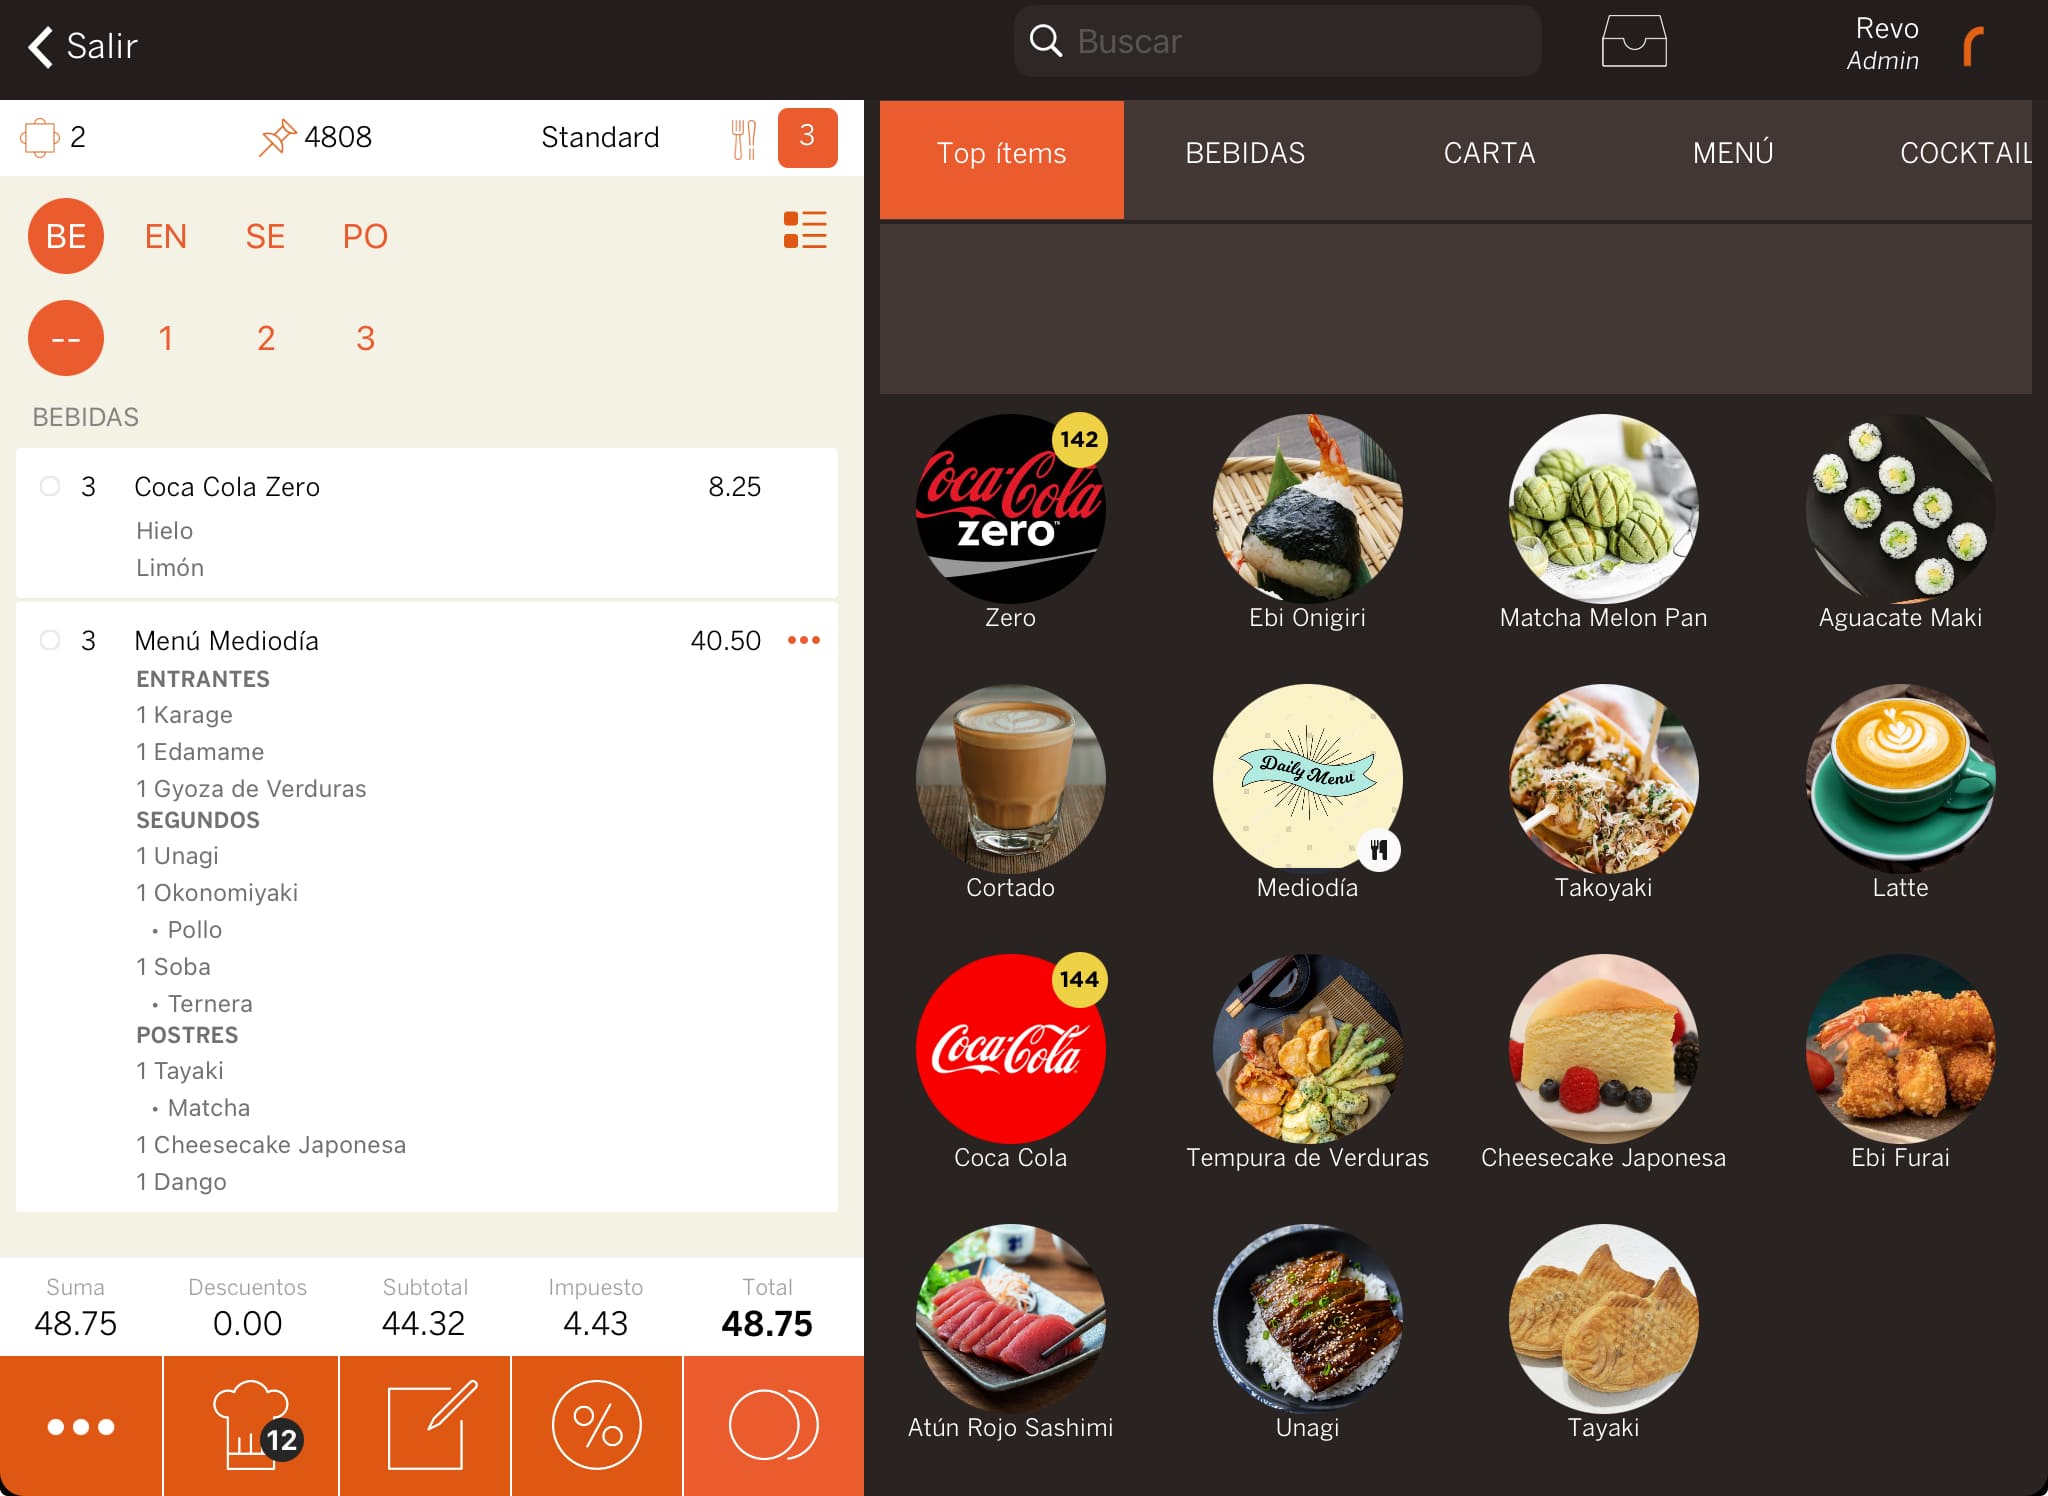
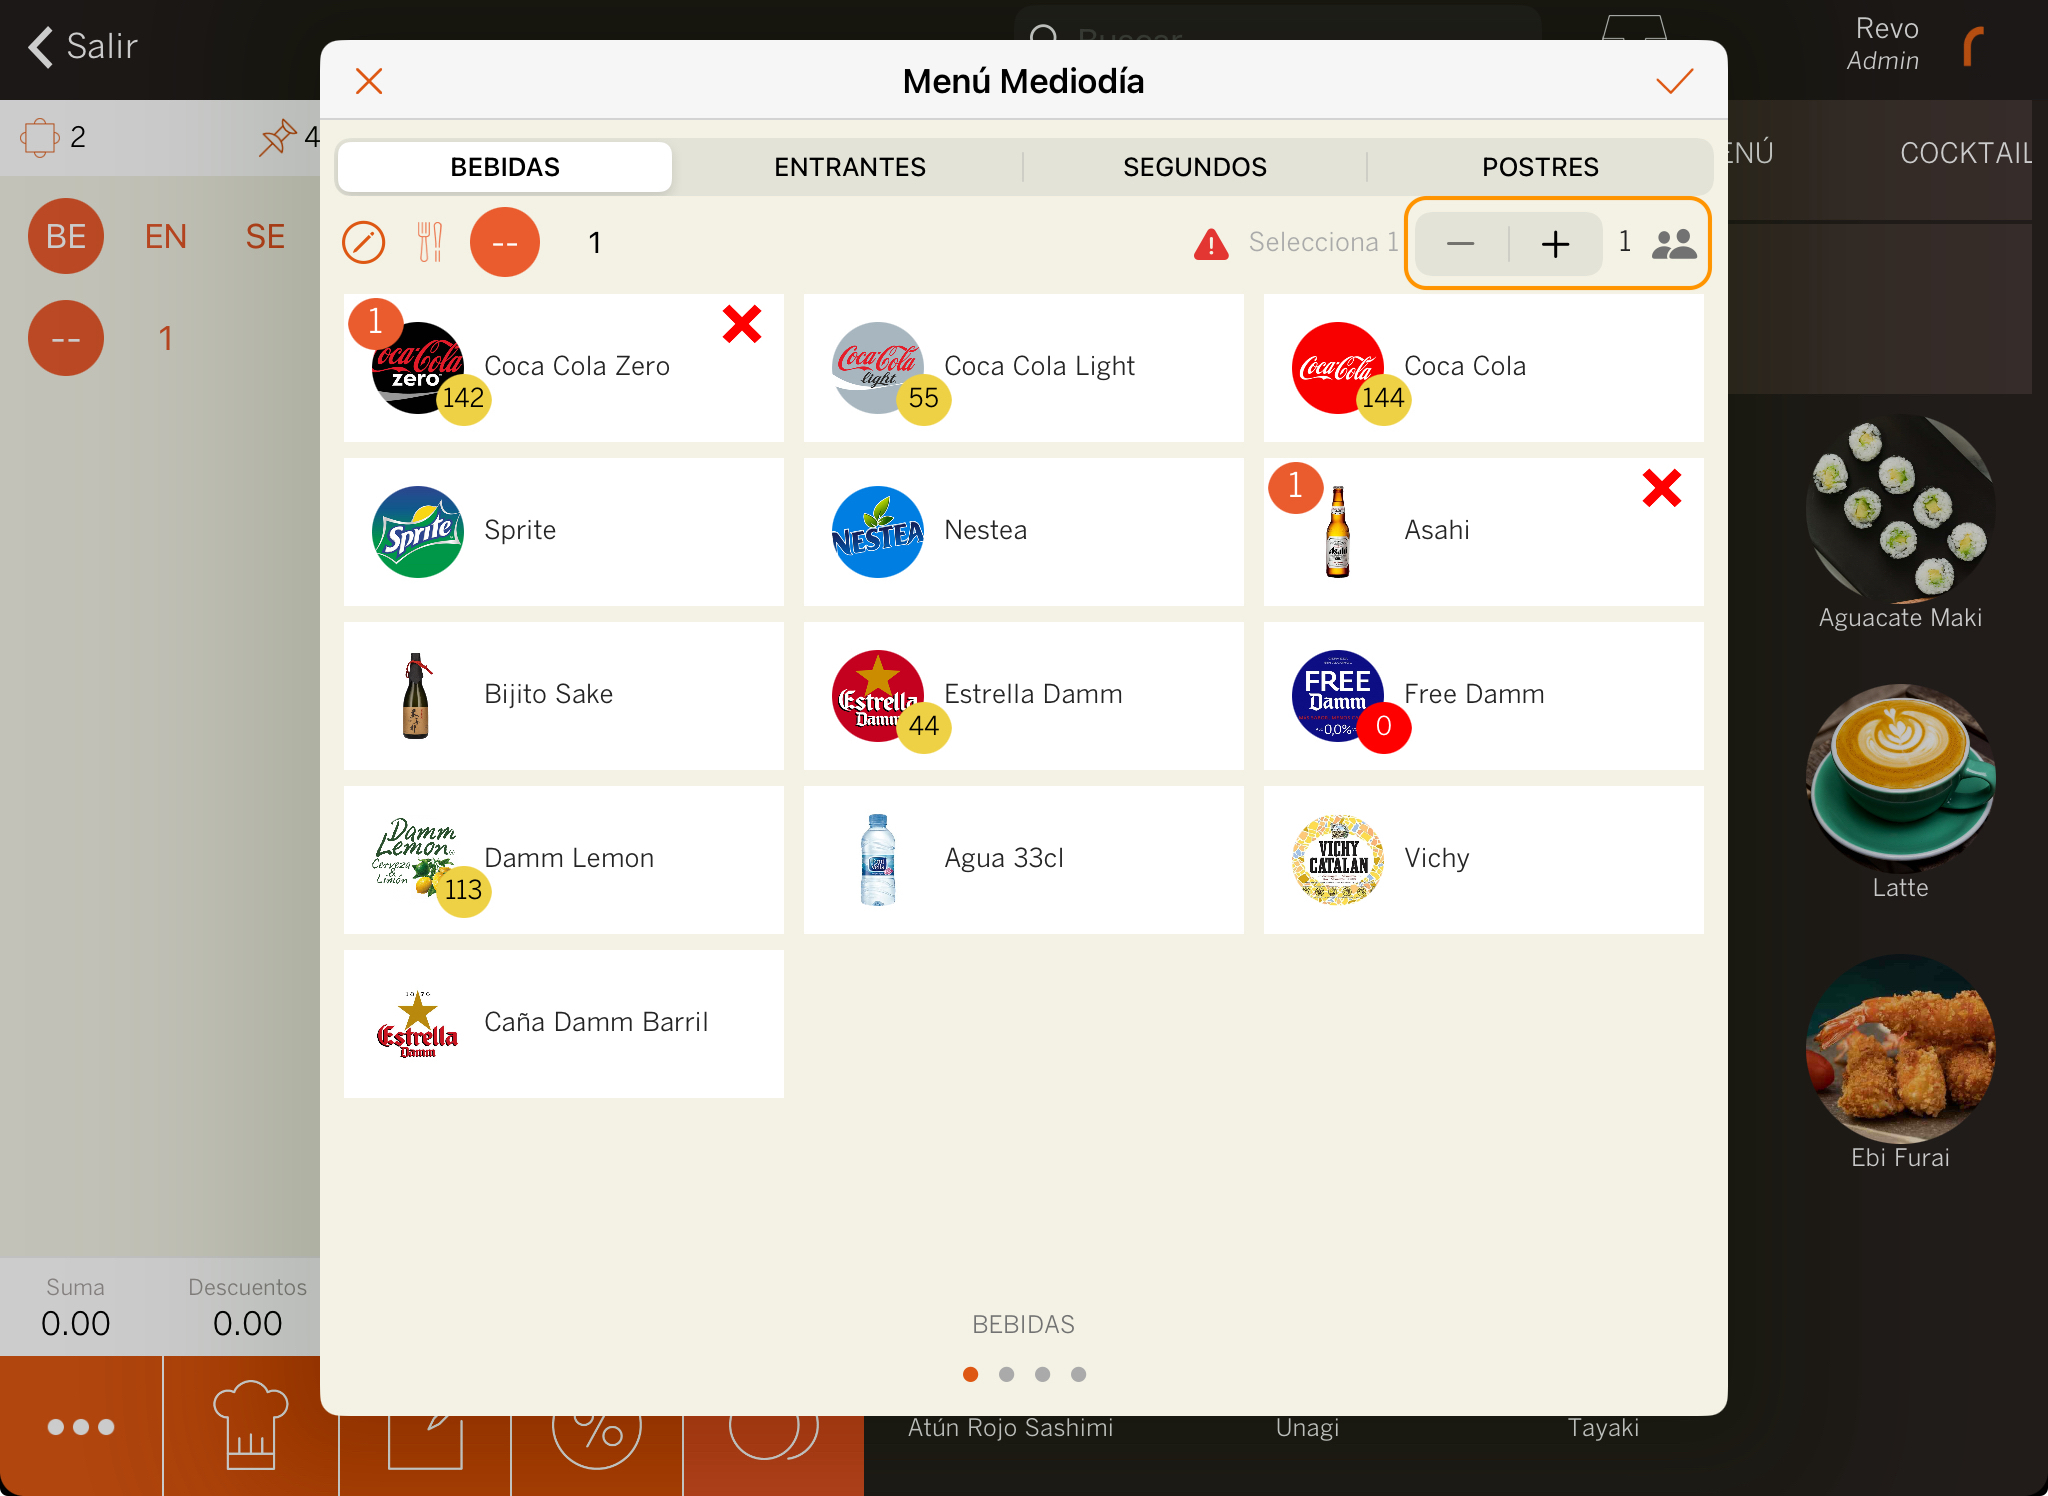
2. Quick Entry ENABLED:
Here, you can manage multiple menus at once, speeding up the process.
When you select a menu, it will ask how many menus you want to manage. For example: At table 1, select 2 if there are two diners wanting a menu.
Then, select the products for each menu.
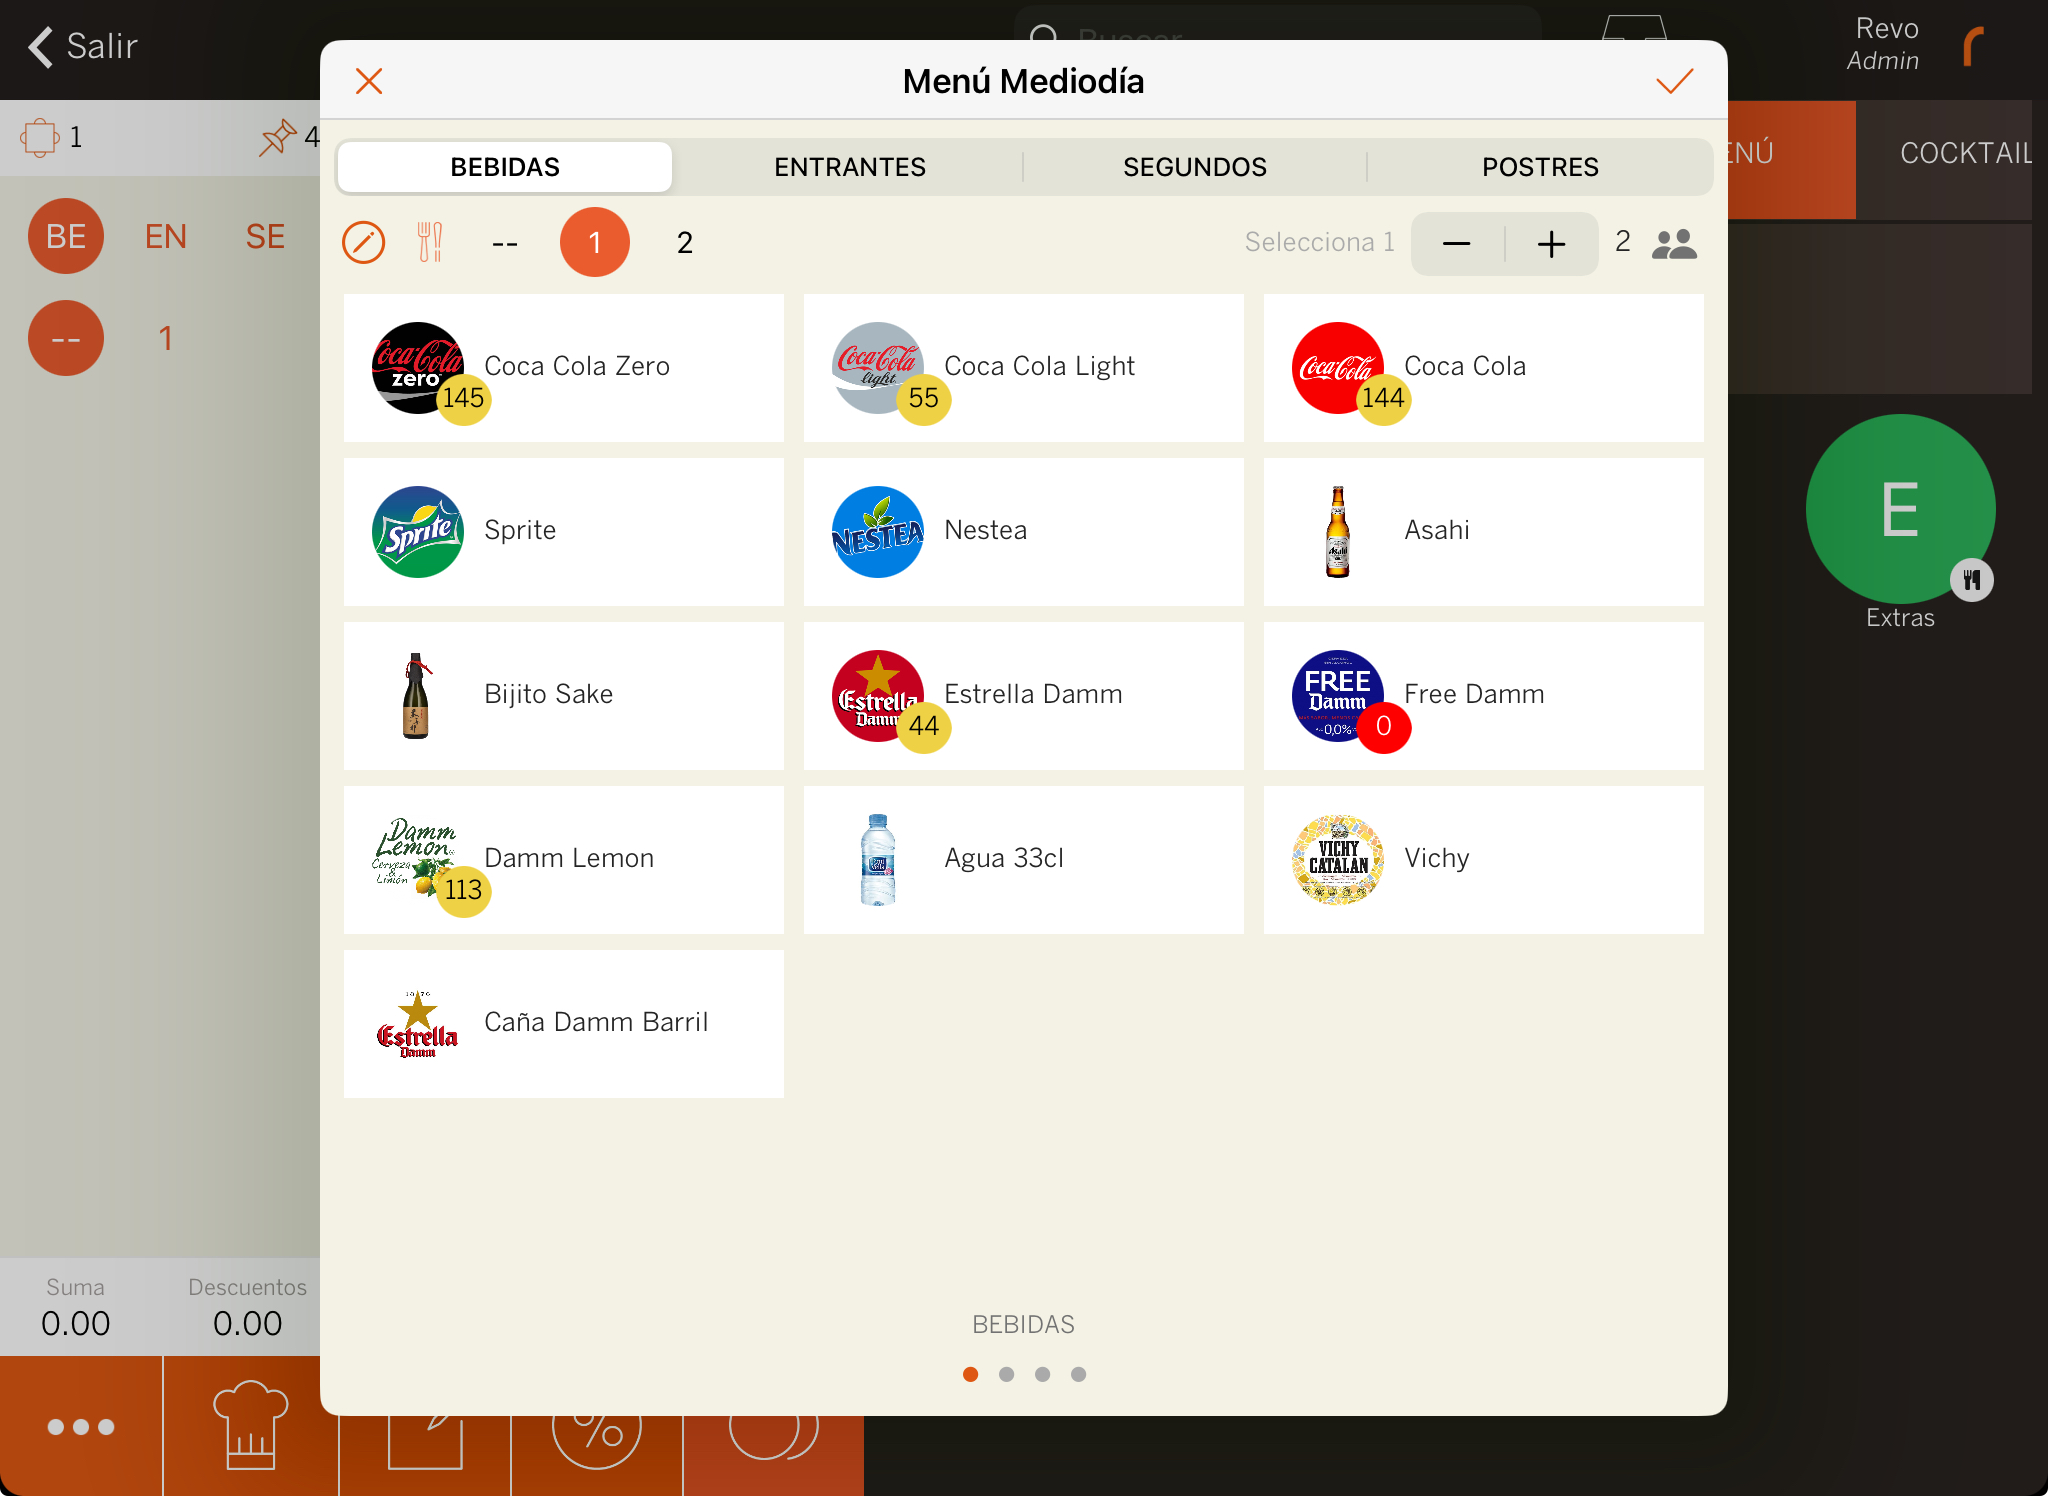
- : Add notes to the selected products.
- : Manage the dishes for each diner.
- |: Add or remove diners.
- : Number of diners.
- : Remove products if necessary.
2. MENU FAQ
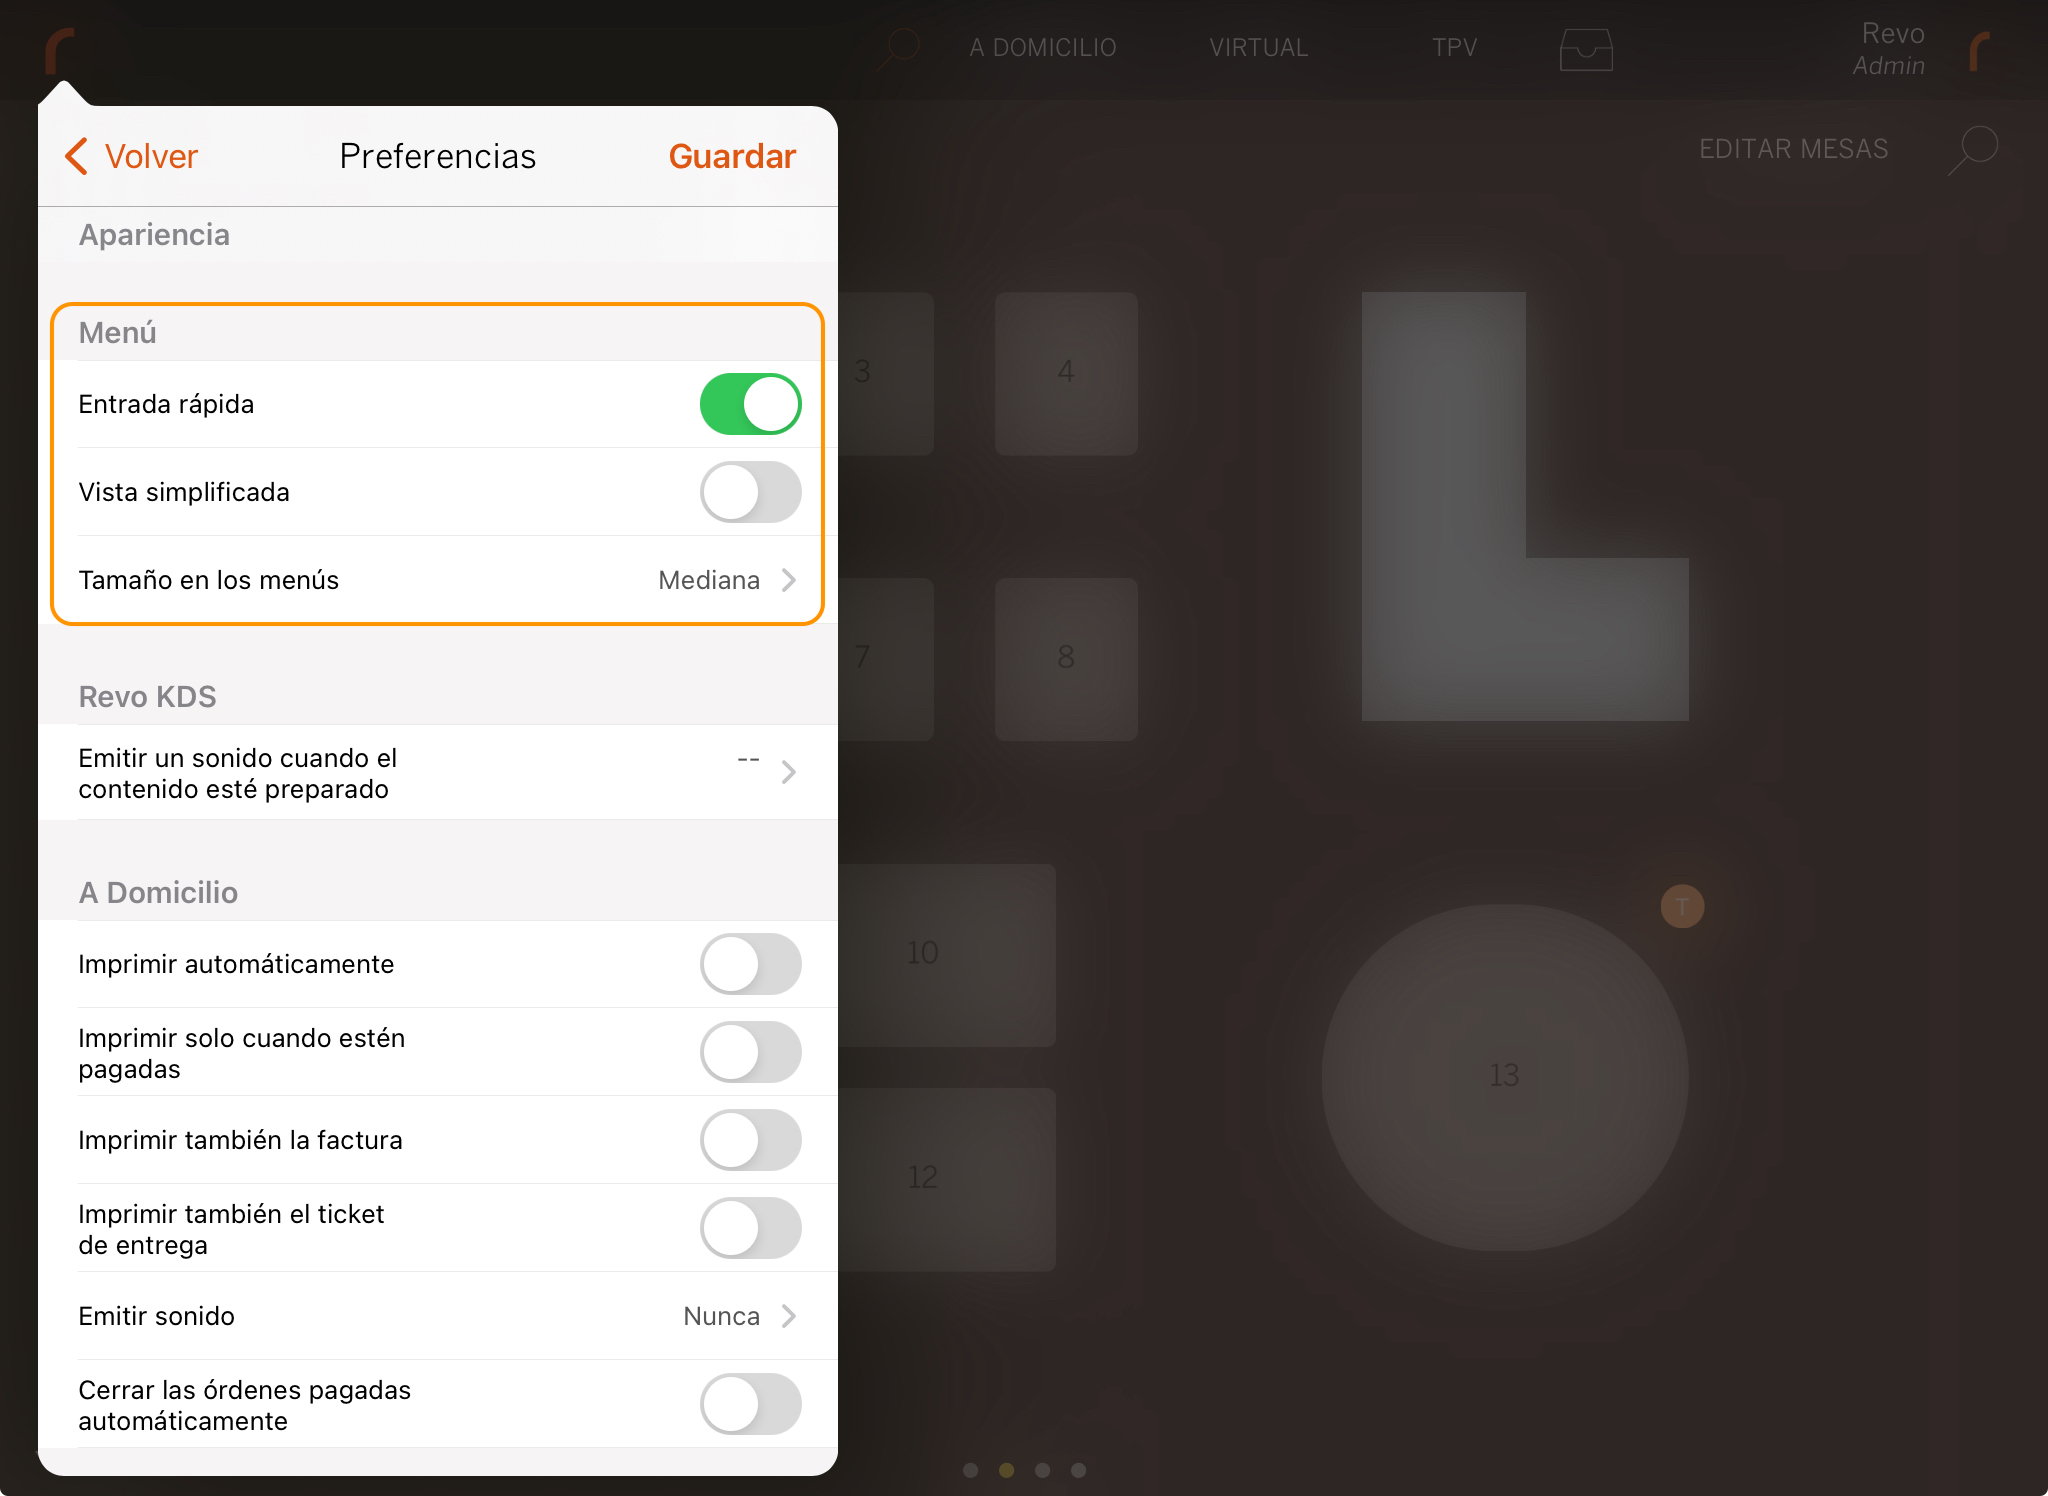
HOW TO ENABLE QUICK ENTRY OR SIMPLIFIED VIEW IN REVO XEF?
You can configure quick entry and simplified view on each device. To do this, follow these steps:
-
Enter the REVO menu r.
-
Press Preferences.
-
Find the Menu section:
WHICH OPTION IS MOST EFFECTIVE?
It depends on your type of business and its operation, but generally, quick entry enabled is more efficient for traditional menus (starters, mains, desserts, etc.).
Quick entry disabled is useful for menus where customers choose ingredients, such as for burgers or pizzas.
WHAT IS SIMPLIFIED VIEW?
With simplified view enabled, the menu items are not shown in the app. With simplified view disabled,the items are shown.
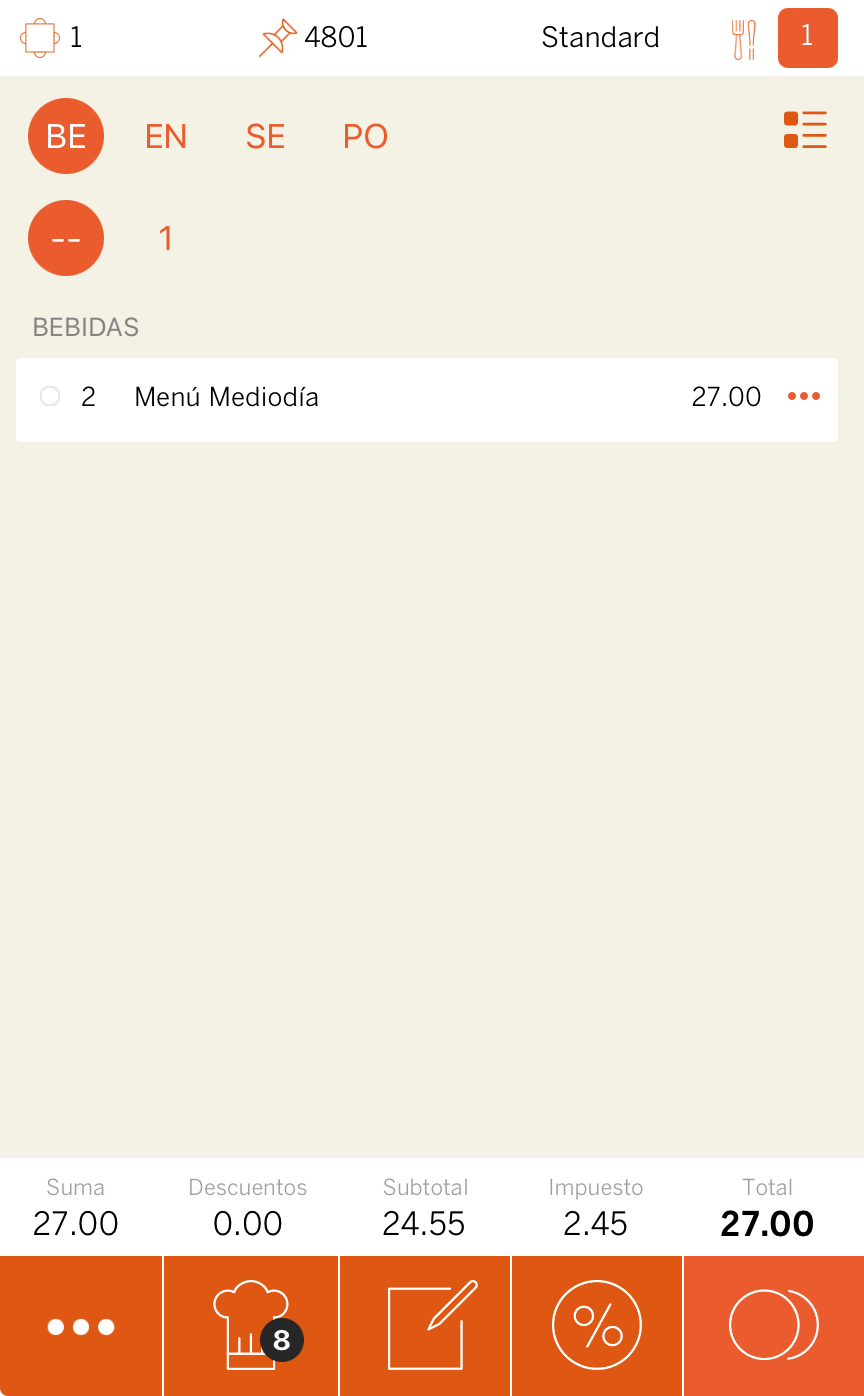
Simplified view is disabled by default. This option only affects the app, but on the order ticket, the menu items are always printed.
CAN YOU SELECT A STARTER AS A MAIN COURSE OR VICE VERSA?
YES, but only with quick entry activated. If a guest wants two starters instead of a starter and a main course, follow these steps:
1. Tap on the menu.
2. Select 2 menus.
3. Select the 2 starters and 1 main course.
4. On the main course screen, swipe right to see the starters along with the main course order.

5. Select a starter as the main course.
6. Select desserts and drinks.
7. Tap to confirm.
WHAT TO DO IF THE MESSAGE: INCOMPLETE MENU APPEARS?
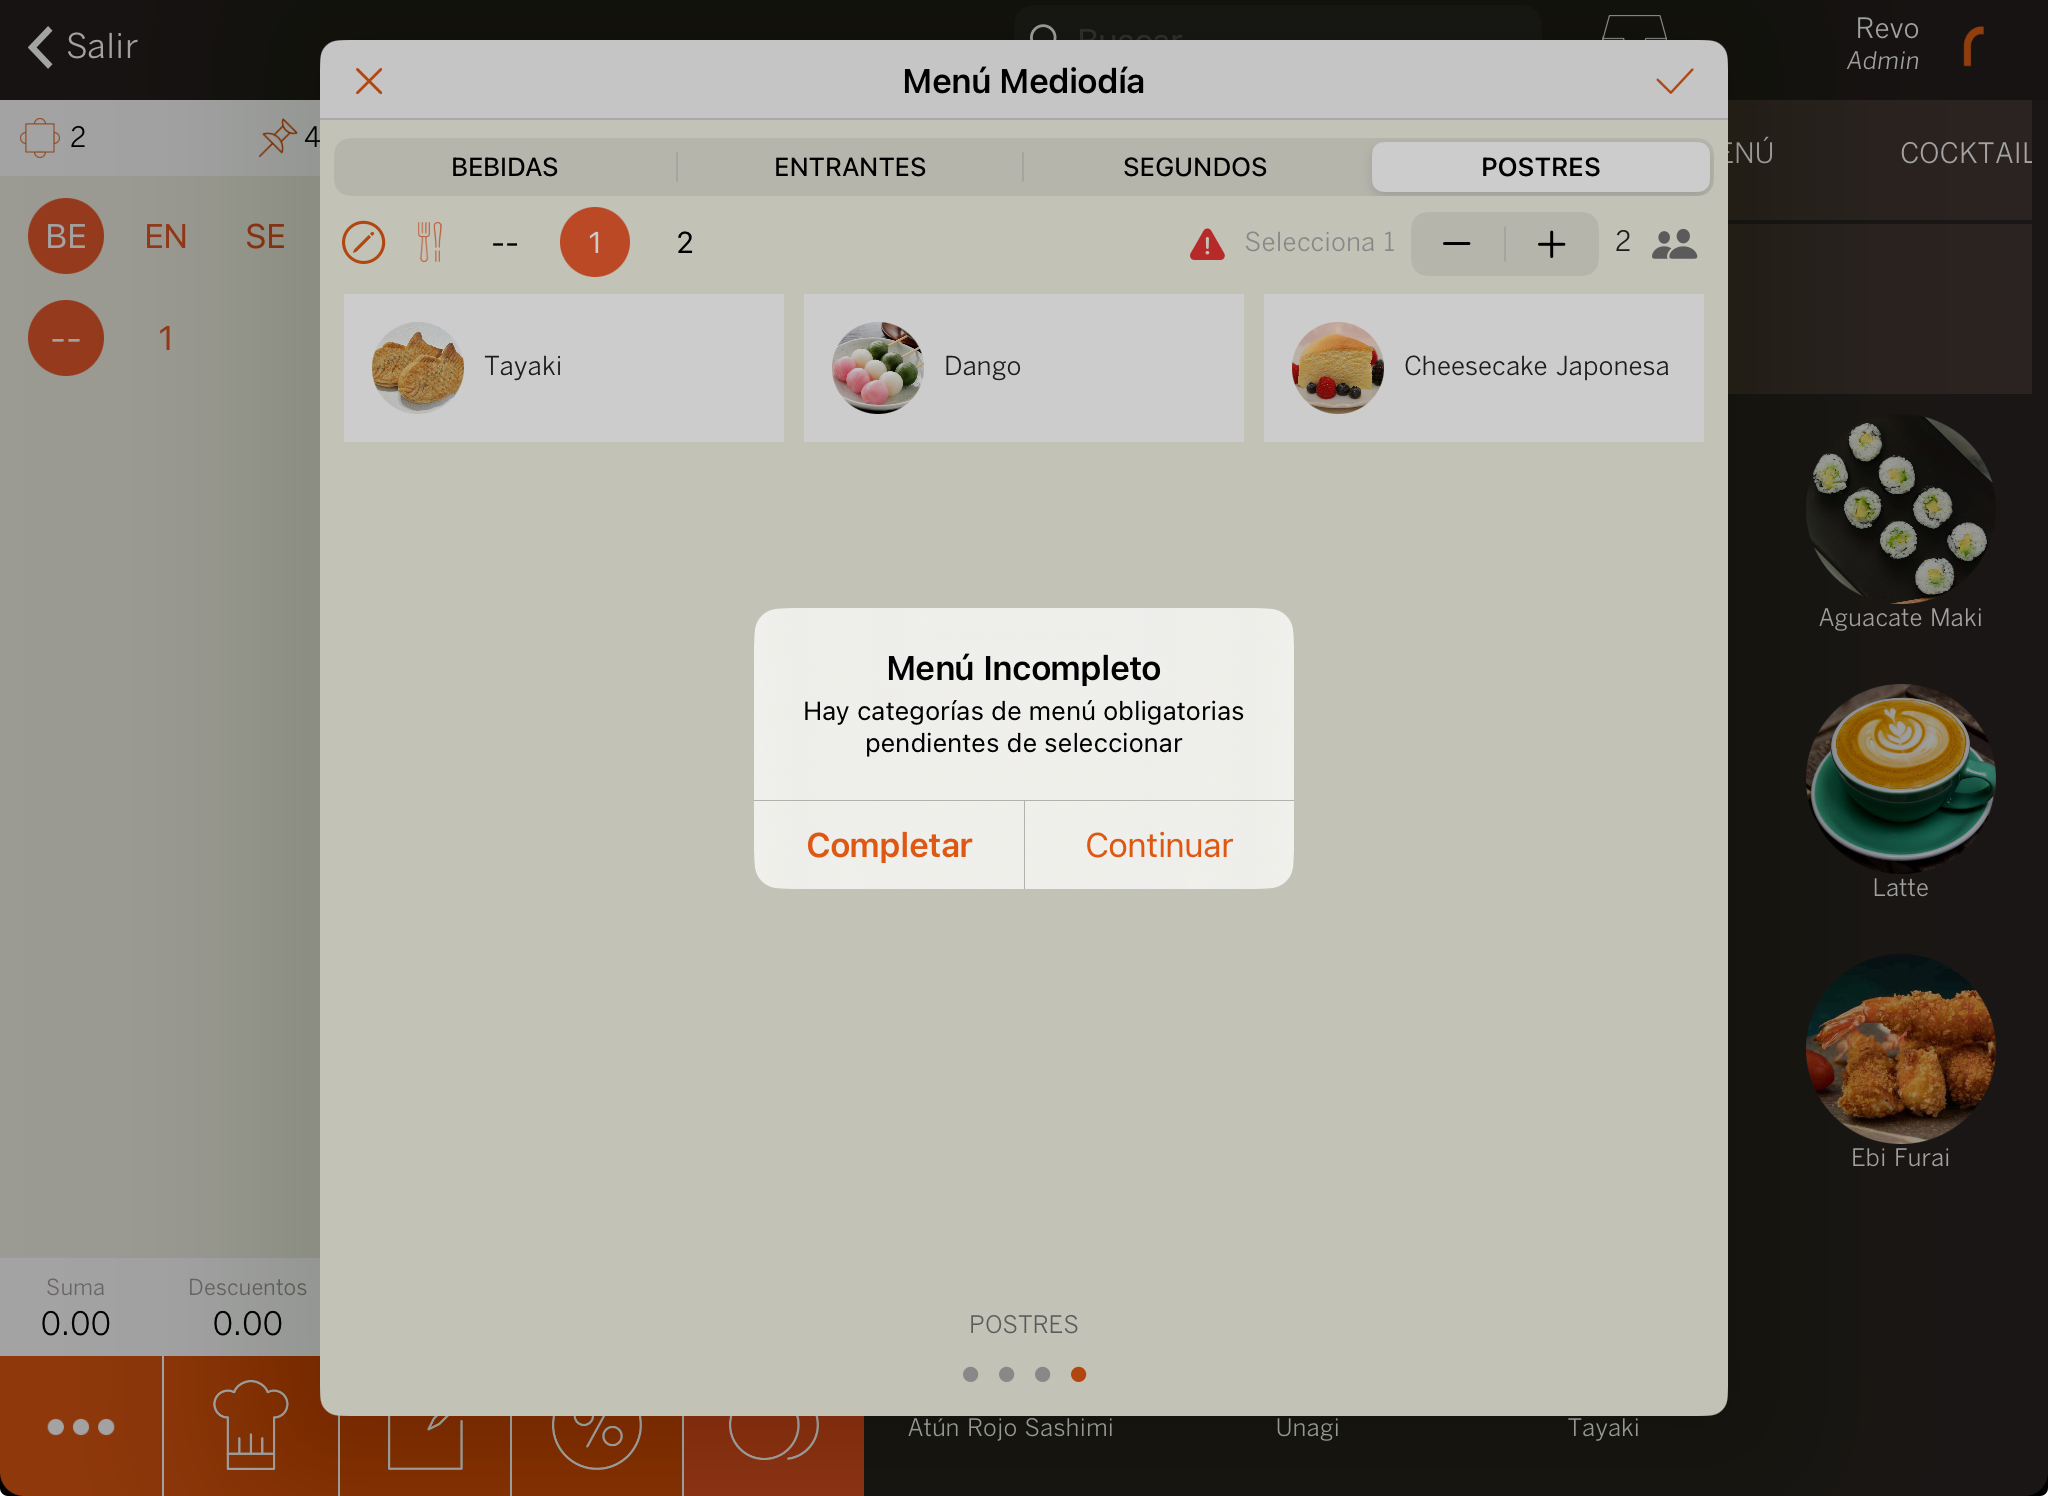
This message appears when using quick entry, and you have not selected all the products in the menu. It is common when desserts have not been selected. You have two options:
- Continue: Add the menu without desserts.
- Complete: Select the desserts and confirm with .
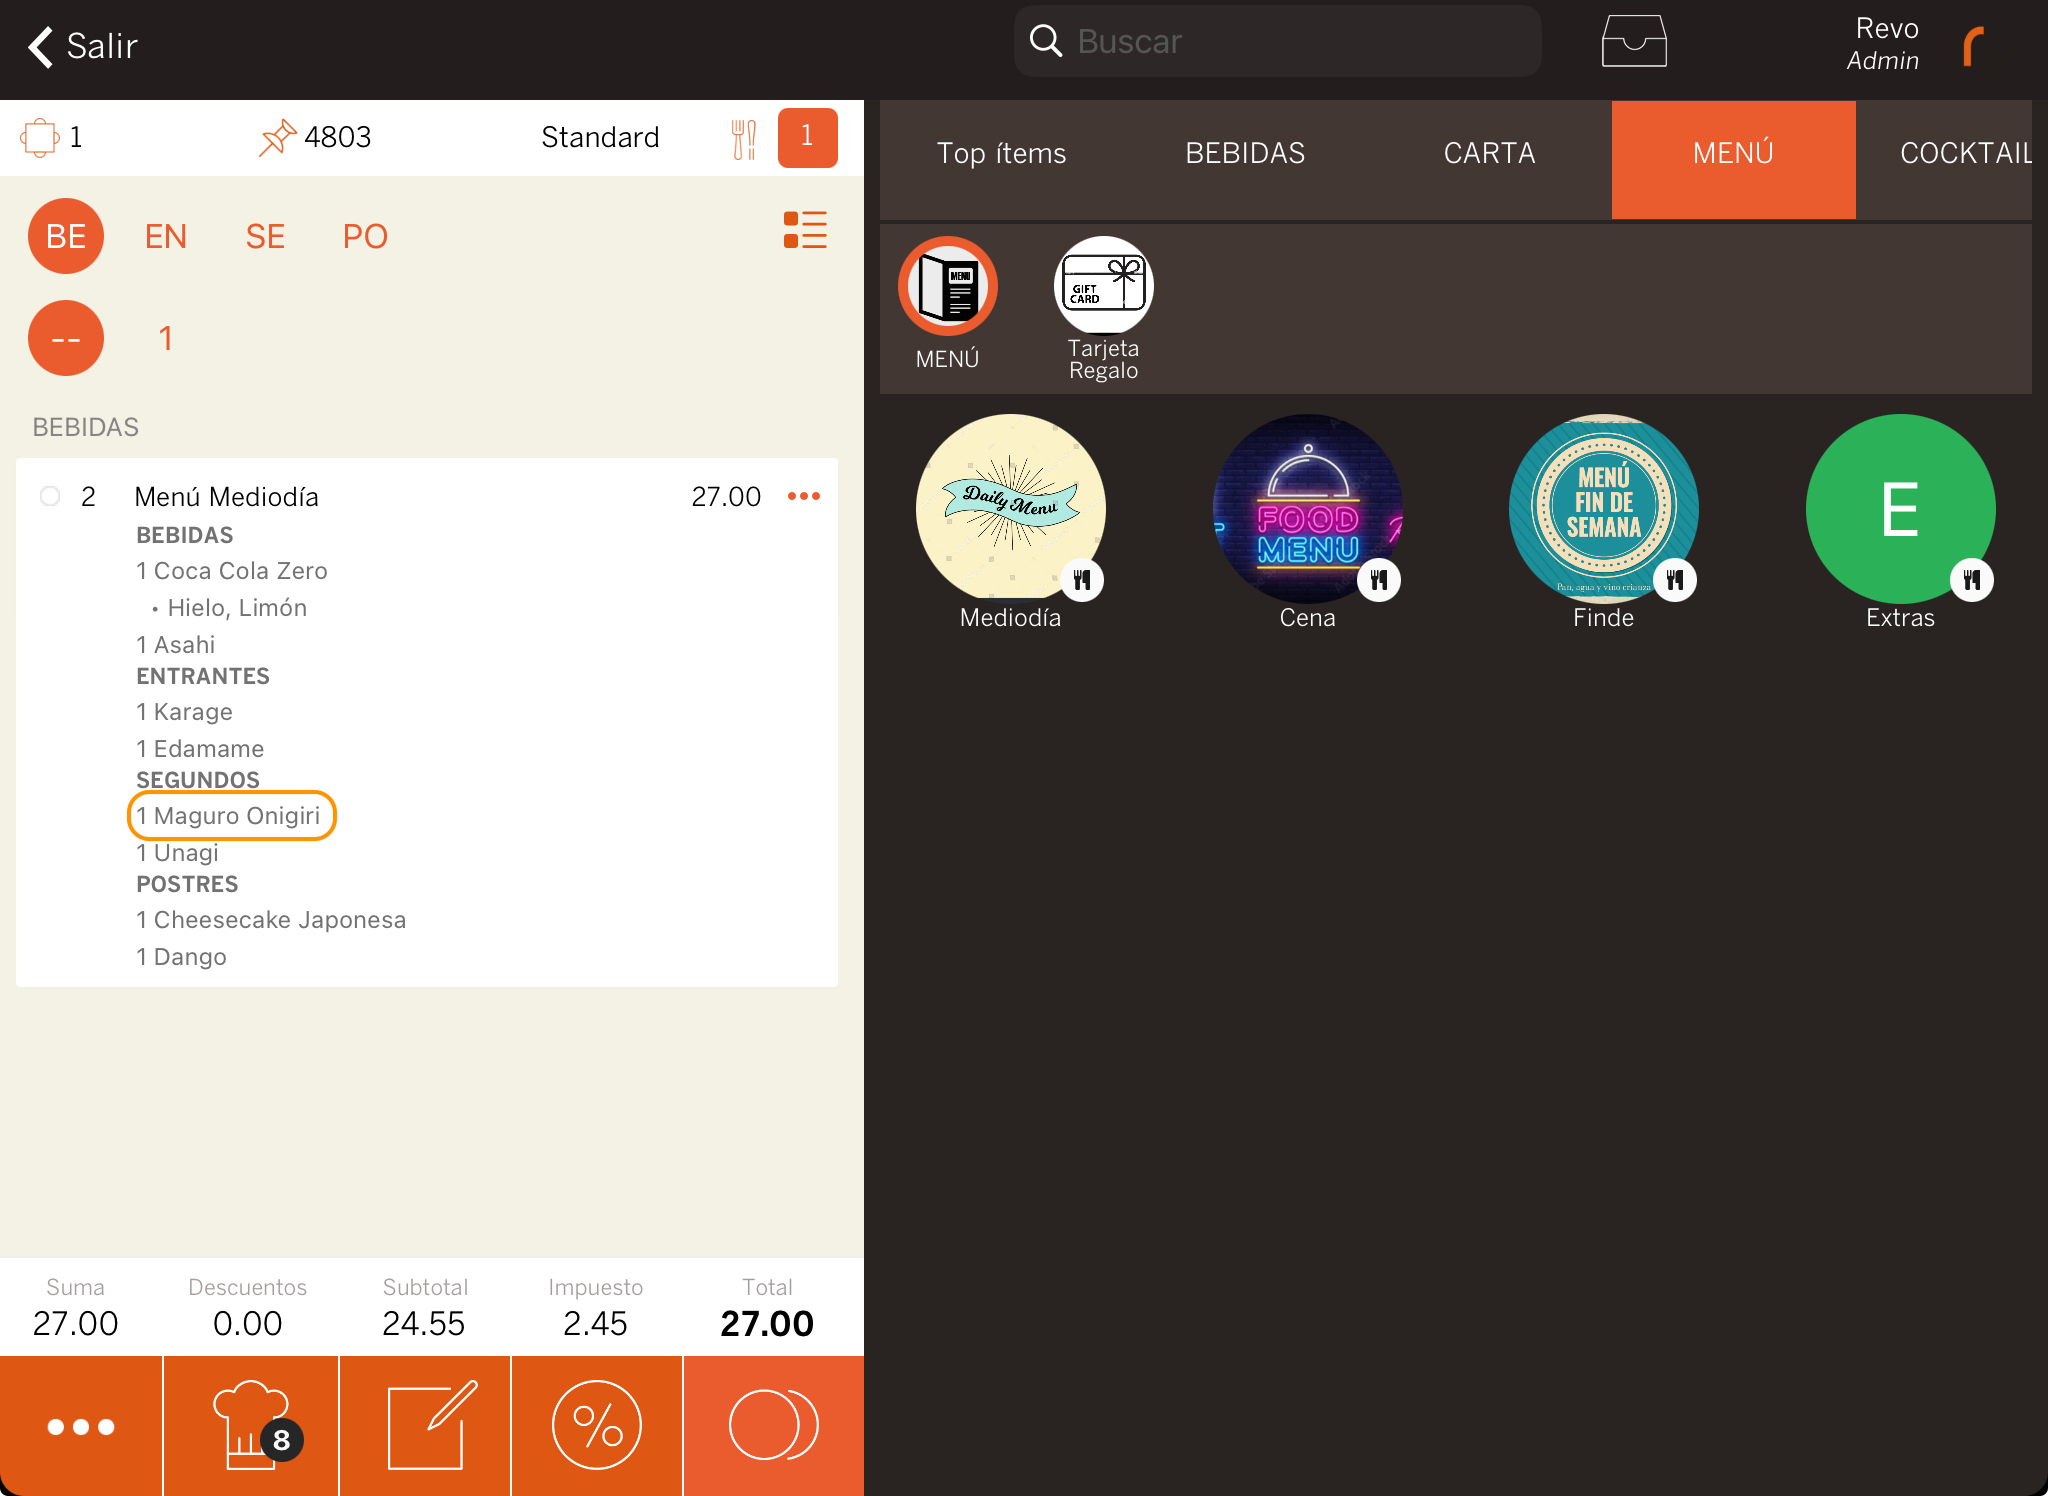
ONCE THE MENU IS ADDED TO THE ORDER, CAN IT BE MODIFIED?
Yes, you can modify a menu after adding it to the order or even after it has been printed.
To add, remove, or modify products in a menu, tap on the in the menu. This will open the previous menu entry window, where you can manage it.
If the order has already been printed and you modify the menu, the removed products will be sent as a negative to the printers or KDS, and the new products will be added.
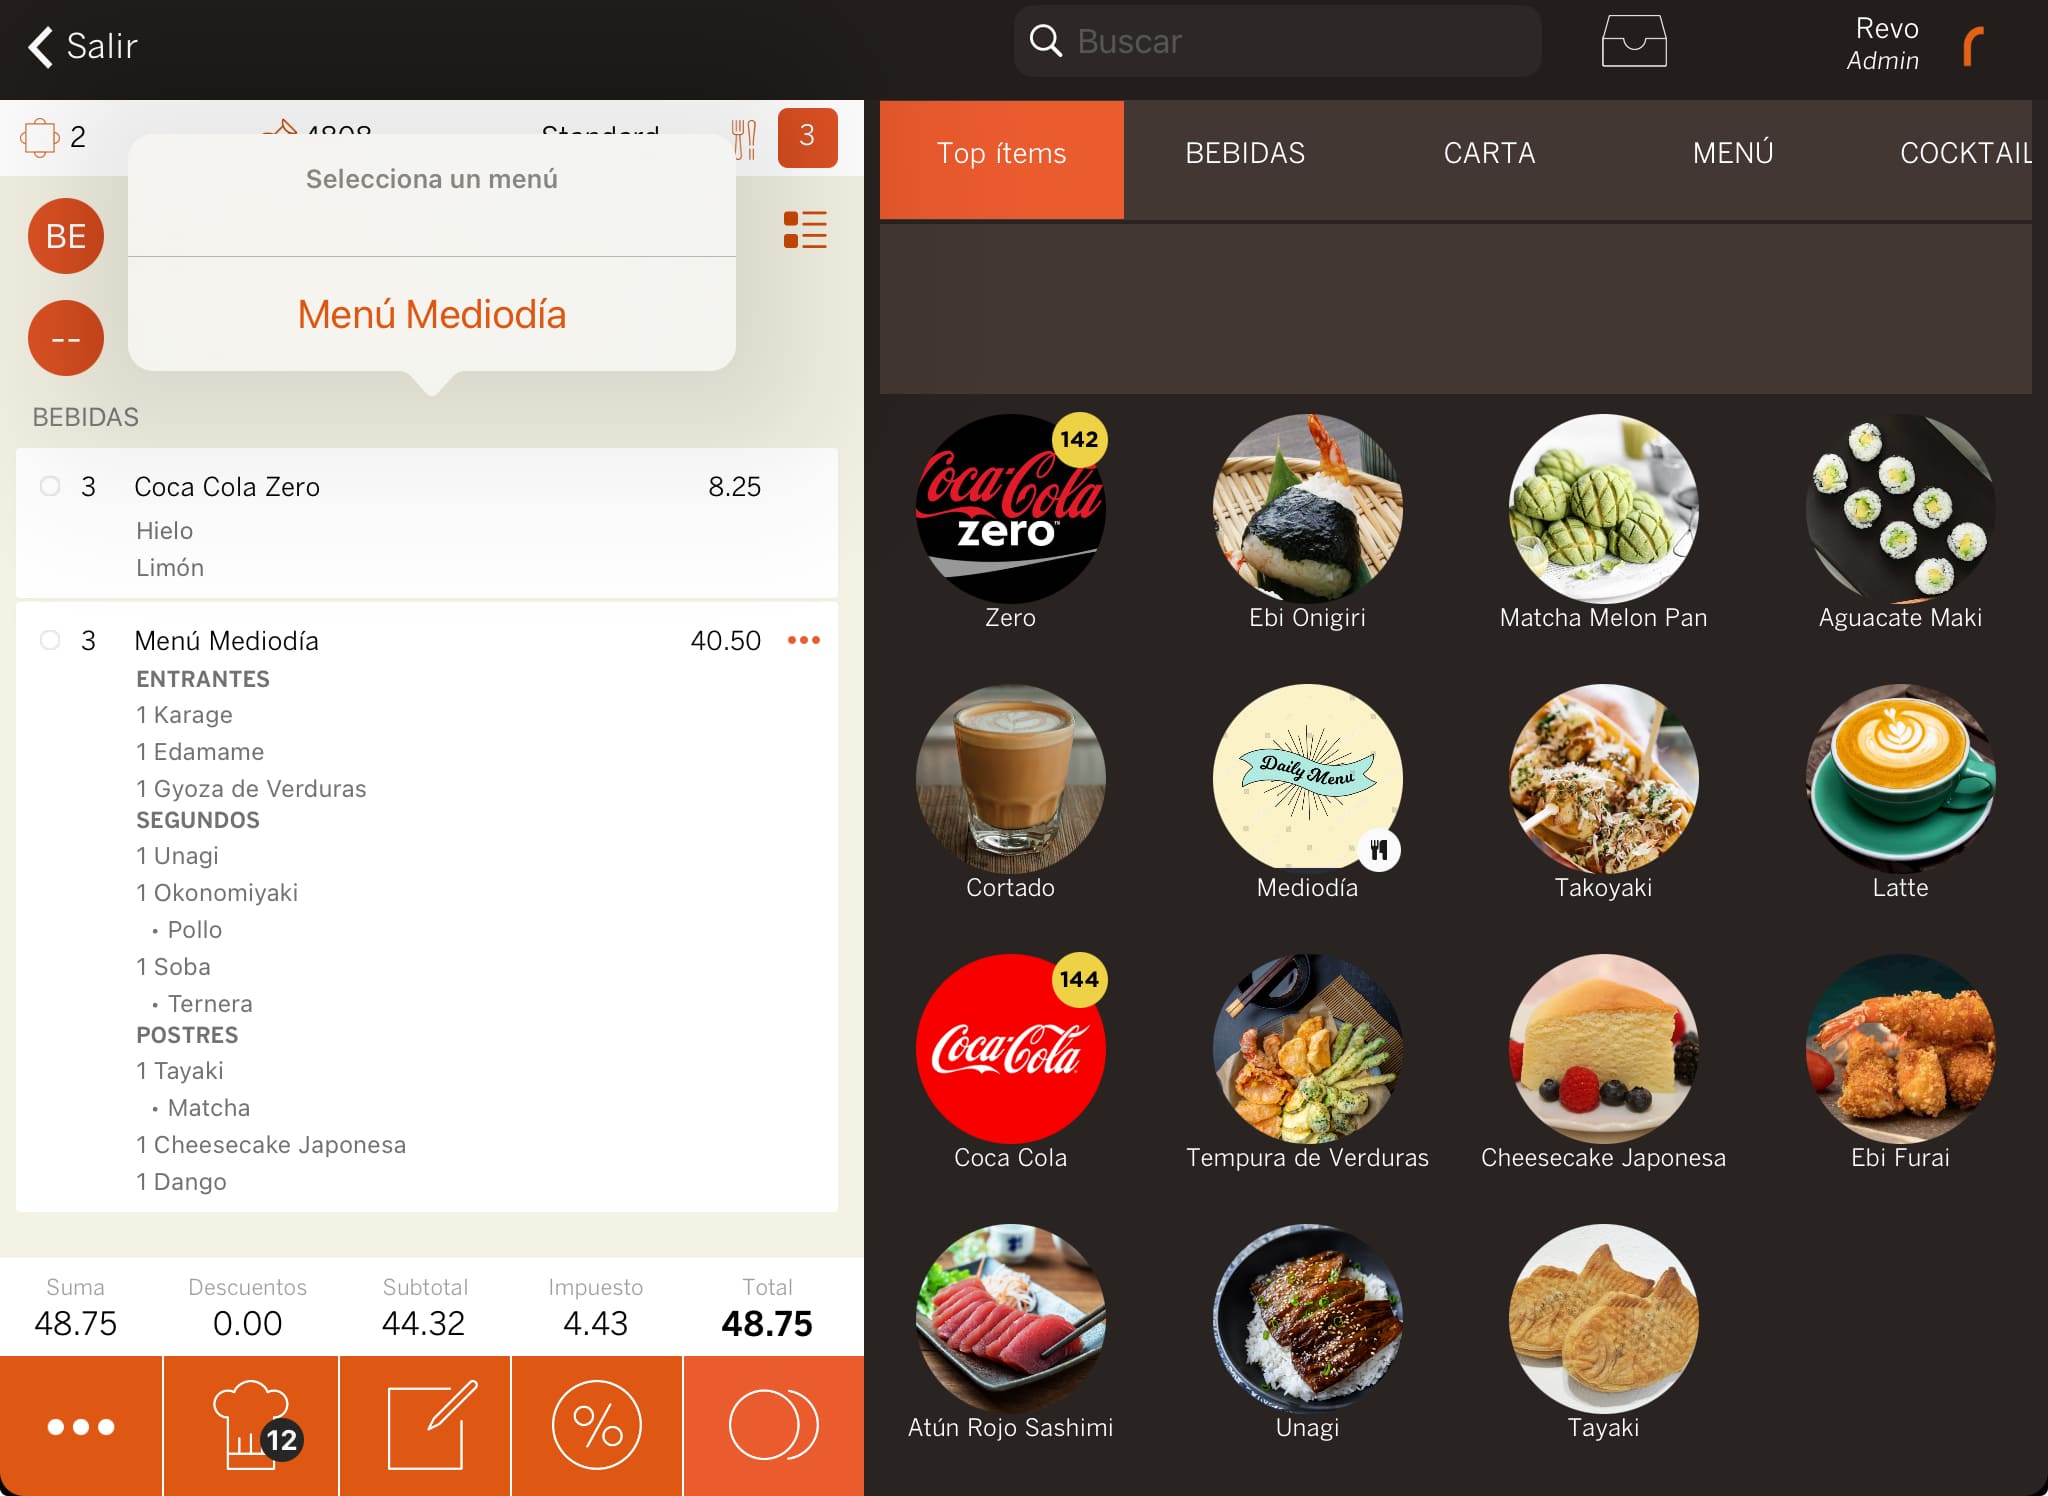
WHAT TO DO IF THE CUSTOMER REQUESTS A MENU WITH INCLUSIVE DRINKS AFTER ENTERING PAID DRINKS?
If the guests first request paid drinks and then a menu that includes drinks at no extra cost, follow these steps:
1. Tap on a table and select 3 guests.
2. Add 3 drinks and print.
3. Add 3 menus with starters, main courses, and desserts. The dessert can be optional and added later.
Do not select drinks when adding the menus, as this will move the previous drinks to the menu.
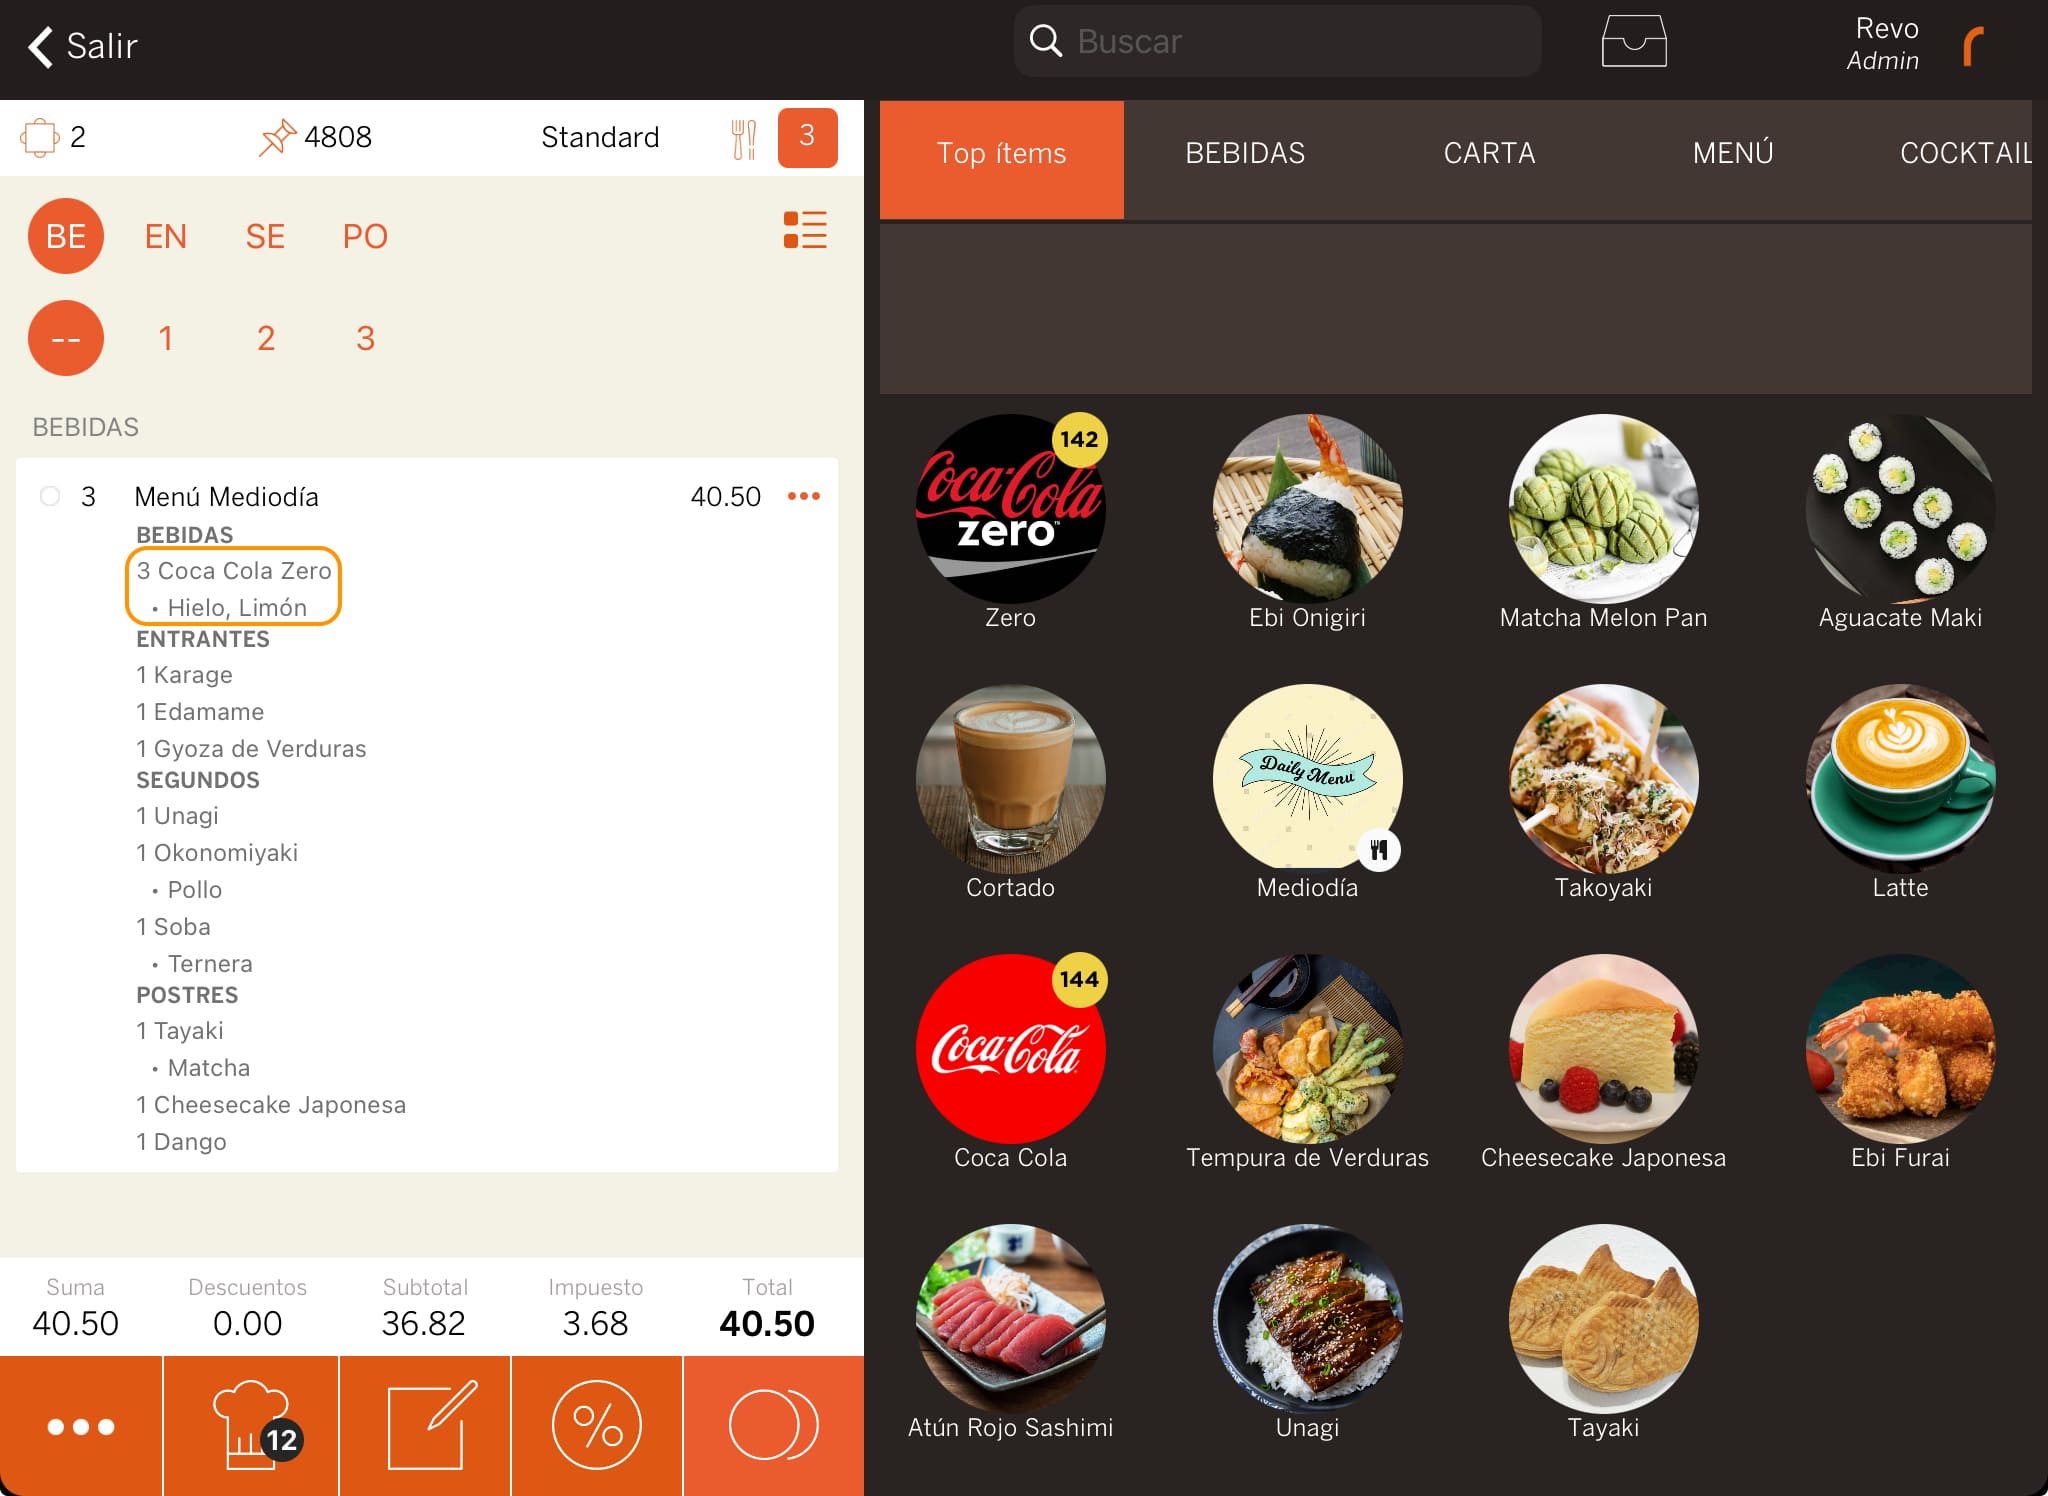
4. With the 3 menus and 3 drinks in the order, swipe the drinks left to right to see the Actions option and select Move to menu.

5. Select the menu to which you want to add the drinks.
6. The drinks will be automatically included in the menu.
Important:
- The number of drinks to move must be equal to or less than the number of menus. You cannot move 4 drinks to 3 menus. You must separate the drinks and move only 3. The fourth drink will be charged extra.
- You can only move the drinks that appear in the menu drinks list. You cannot move extra cost drinks that are not on the menu list, such as a premium glass of wine.
IF YOU ADD A NEW GUEST WHILE SELECTING A MENU FOR MULTIPLE PEOPLE, DO YOU HAVE TO START OVER?
No! With Revo XEF, you can easily add or remove guests while selecting the menu.
Simply, on the menu screen, tap to add a new guest or to remove one or more guests.
Then, remove products for the removed guest (tap on the --) or select products for the new guest in each category.