1. CUSTOMERS 2. CUSTOMER GROUPS
1. CUSTOMERS
-
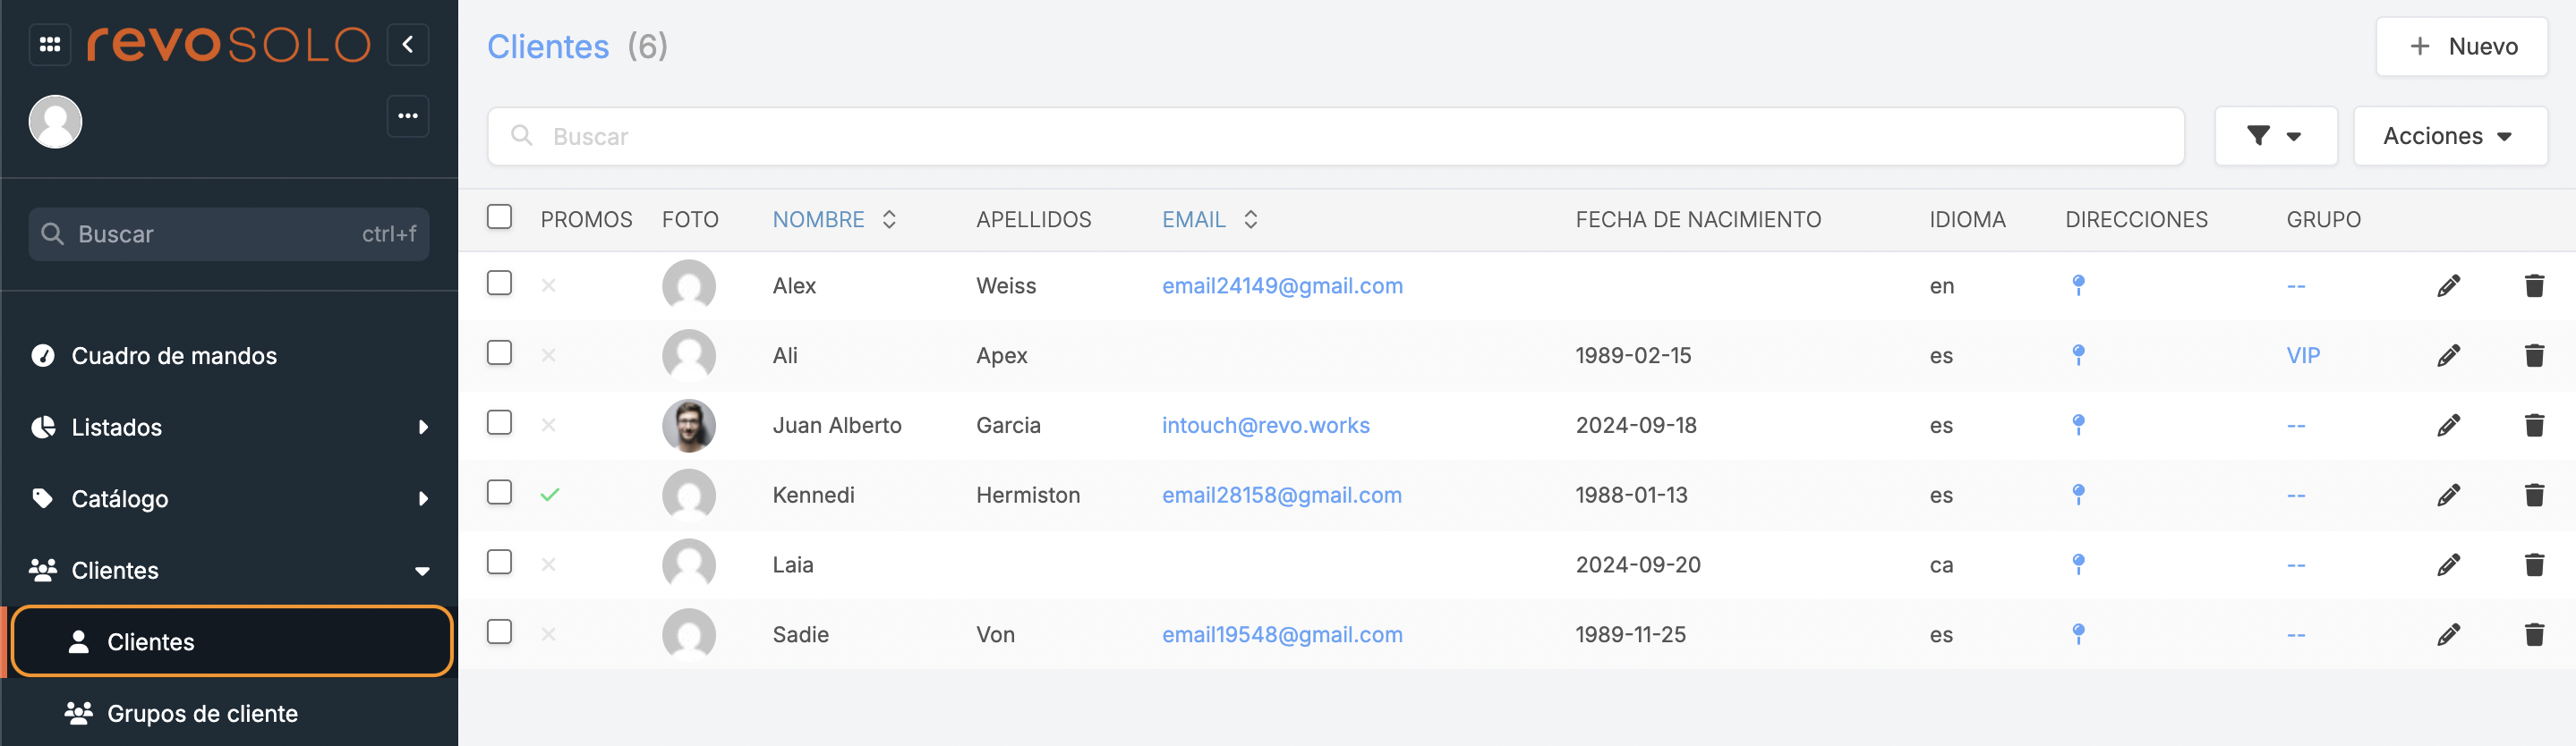
+ New: Create a new customer.
-
: Search for customers.
-
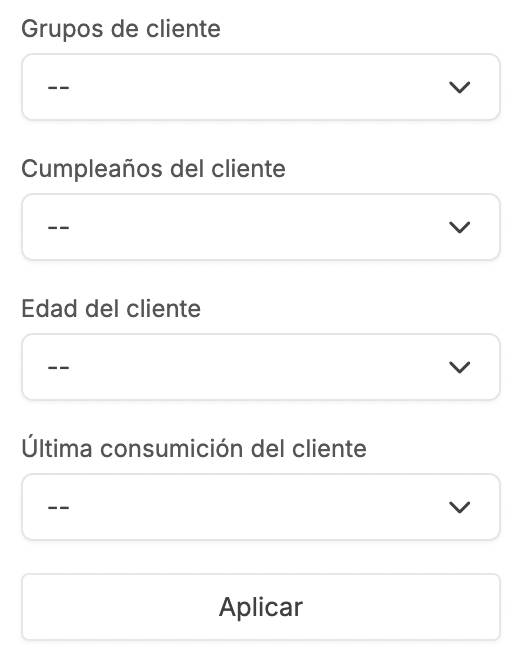
: Filter customers.
-
Actions: Delete one or more selected customers.
-
: Select all or several customers.
-
Promotions: Opt-in to receive promotions or opt-out.
-
Photo: Customer's photo.
-
First Name: Customer's first name.
-
Last Name: Customer's last name.
-
Email: Customer's email address.
-
Date of Birth: Customer's date of birth.
-
Language: Customer's preferred language.
-
Addresses: Access the customer's addresses.
-
Group: Customer's group.
-
: Edit the customer.
-
: Delete the customer.
CREATING A NEW CUSTOMER
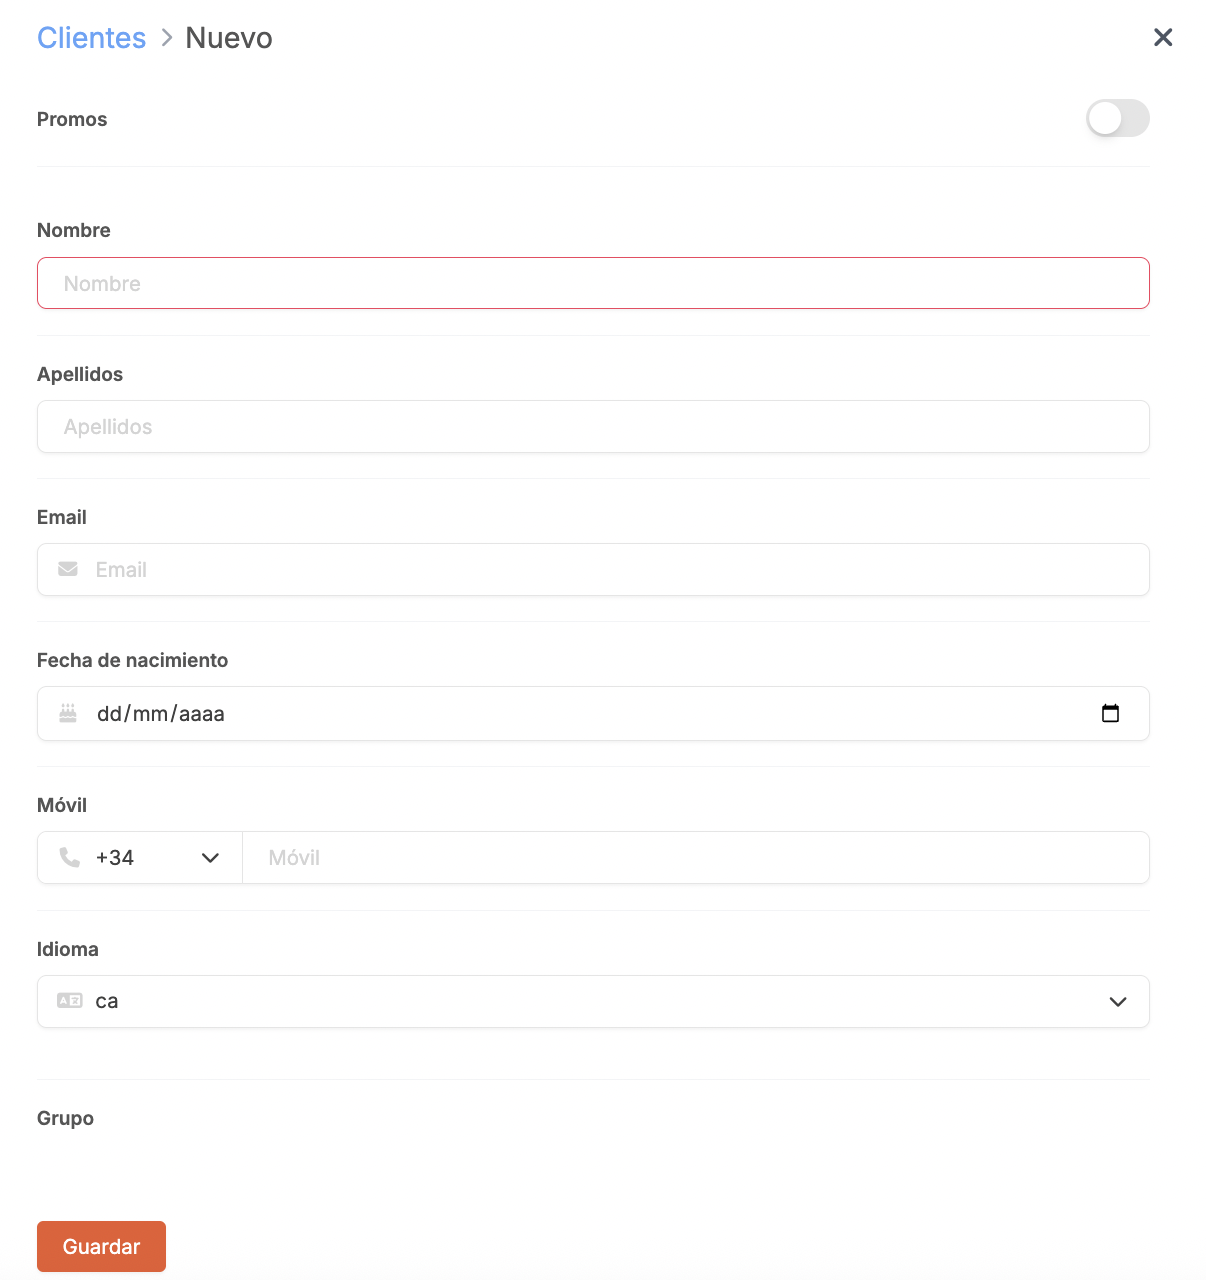
1. Click + New:
-
Promotions: If you enable Notify about offers and news in preferences, you’ll see whether the customer has opted in or opted out of receiving them.
-
First Name: Enter the customer’s first name.
-
Last Name: Enter the customer’s last name.
-
Email: Enter the customer’s email address.
-
Date of Birth: Enter the customer’s date of birth.
-
Mobile: Enter the customer’s phone number.
-
Language: Choose the customer’s preferred language.
-
Group: Select the customer’s group.
2. Click Save.
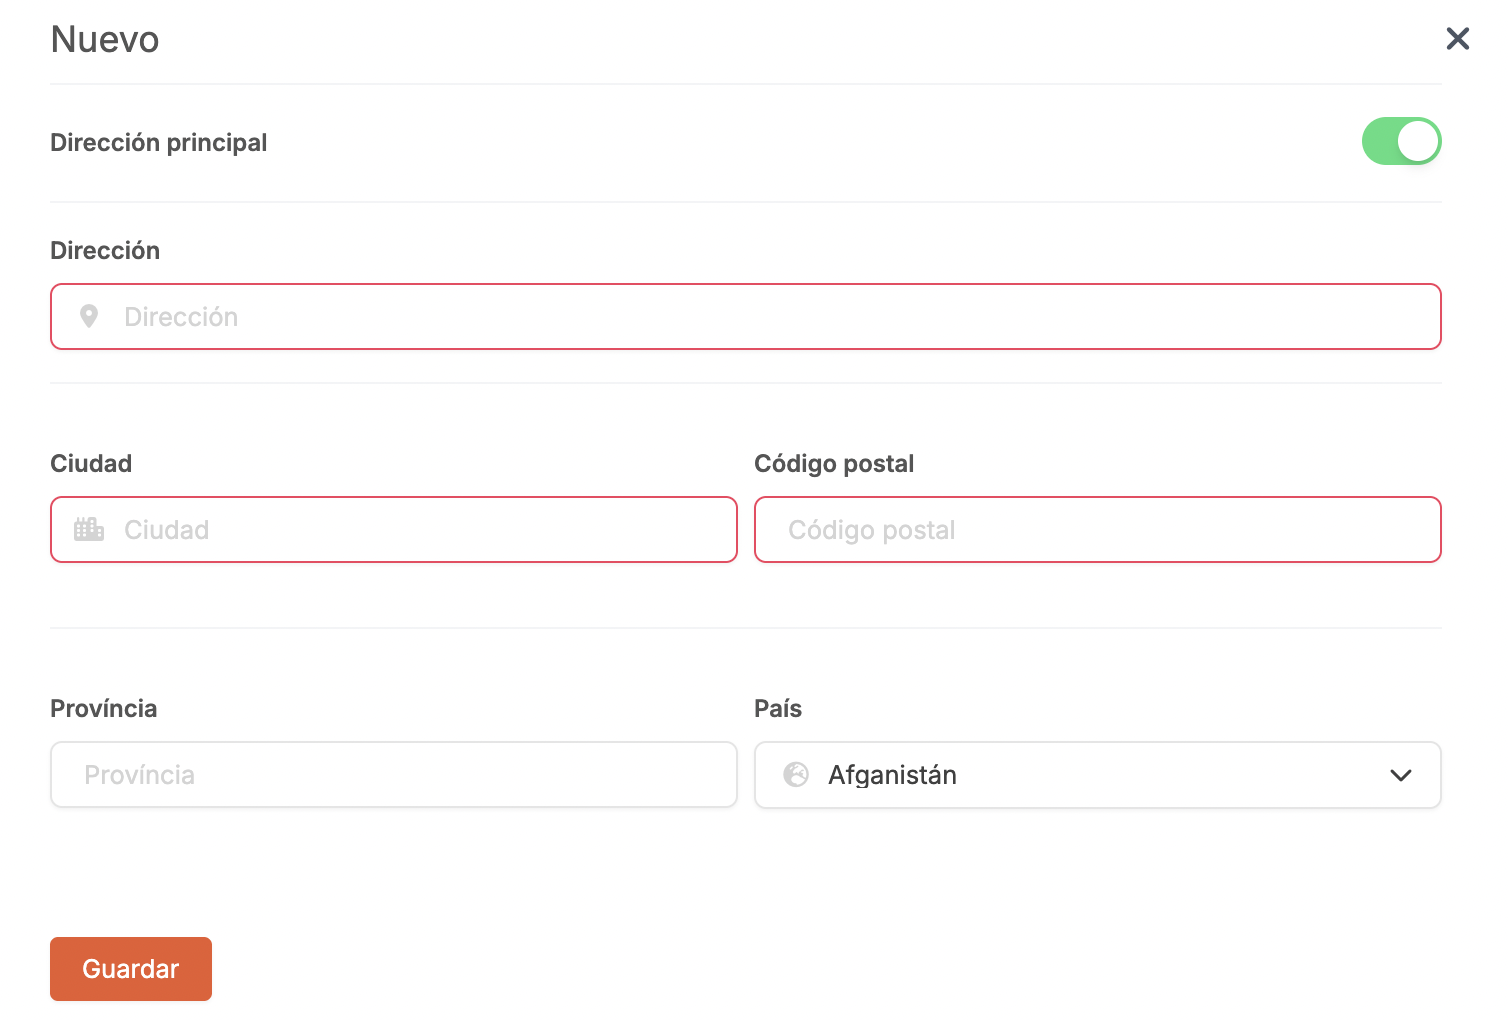
ADDING MULTIPLE ADDRESSES TO A CUSTOMER
It is possible to save multiple addresses for customers; this way, when they register, they can select them for future orders.
1. Access Addresses by clicking the .
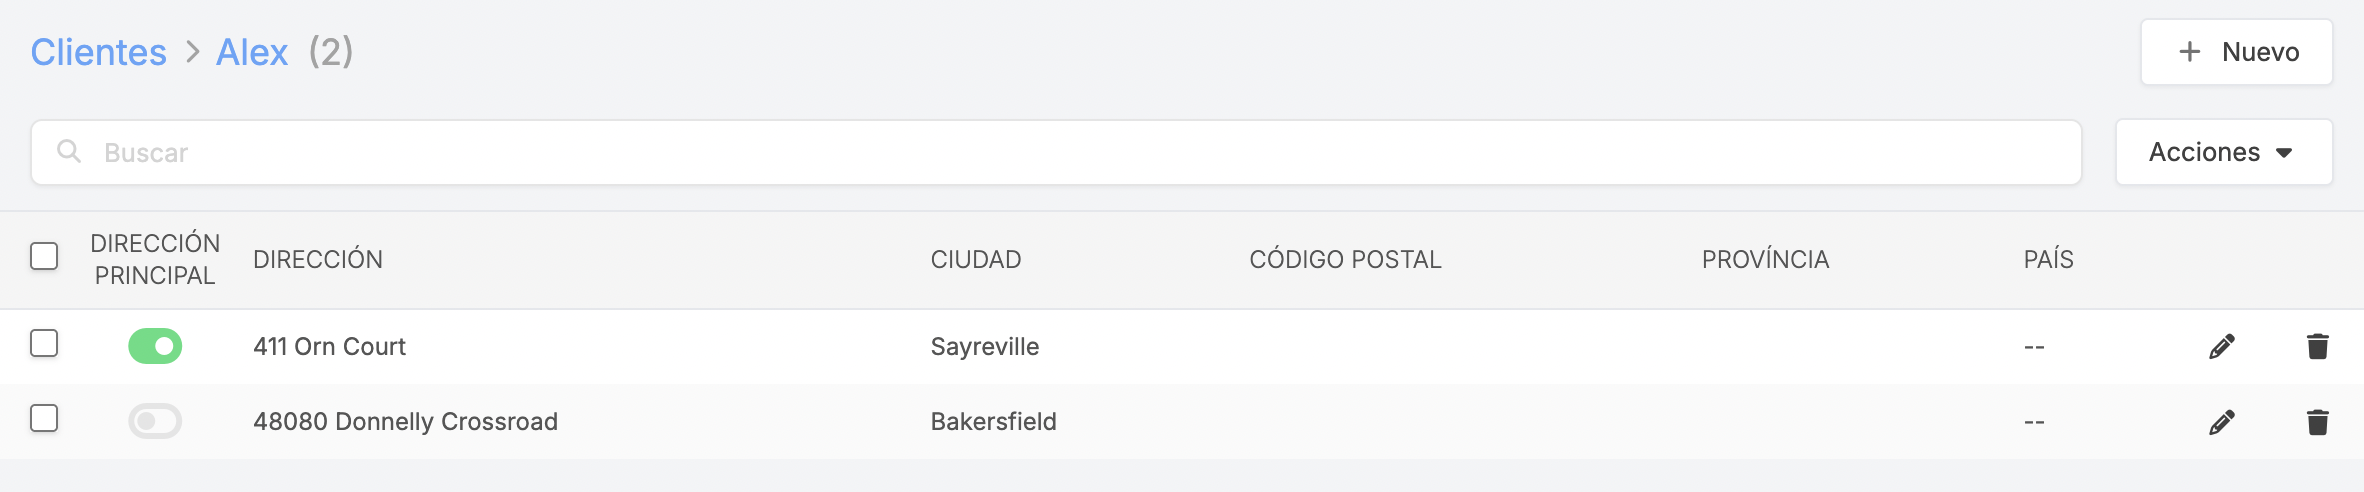
2. Click + New and fill in the fields.
-
Address: Customer’s address.
-
City: Customer’s city.
-
Postal code: Postal code of the customer.
-
Province: Customer's province.
-
Country: Country of the customer.
3. Click Save.
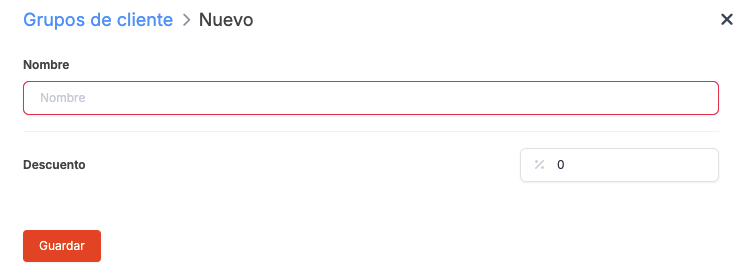
2. CUSTOMER GROUPS
To add a discount to a customer group:
1. Click on + New:
-
Name: Enter the group name.
-
Discount: Enter the discount percentage.
2. Click on Save.
3. Go to CUSTOMERS and edit the customer to add the group.