1. SETUP IN REVO XEF - PART I 2. SETUP IN REVO FLOW - PART I 3. SETUP IN REVO XEF - PART II 4. SETUP IN REVO FLOW - PART II
For Revo FLOW and Revo XEF to function correctly, you need to configure two integrations: Revo FLOW integration in the Revo XEF back office and Revo XEF integration in the Revo FLOW back office.
1. SETUP IN REVO XEF - PART I
1. Log in to the back office of Revo XEF.
2. Go to Account / TOKENS.
3. Create a new Token: click + New, choose a name (e.g., FLOW), save, and copy the generated token. More information on tokens can be found here.
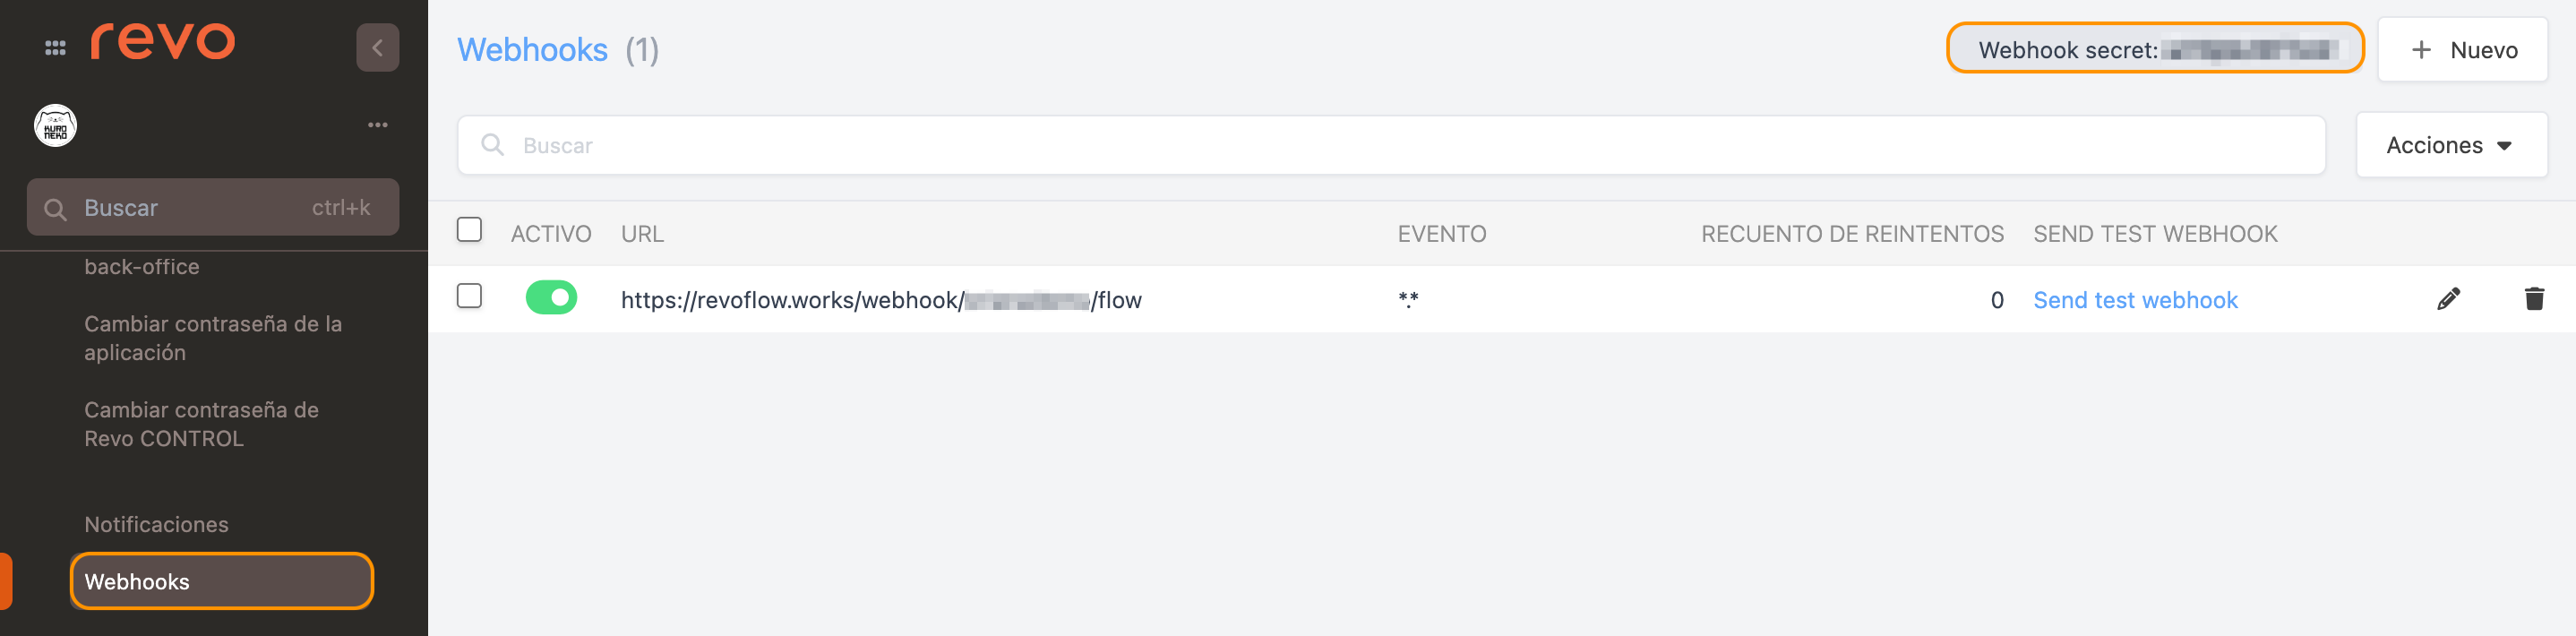
4. Go to Account / WEBHOOKS.
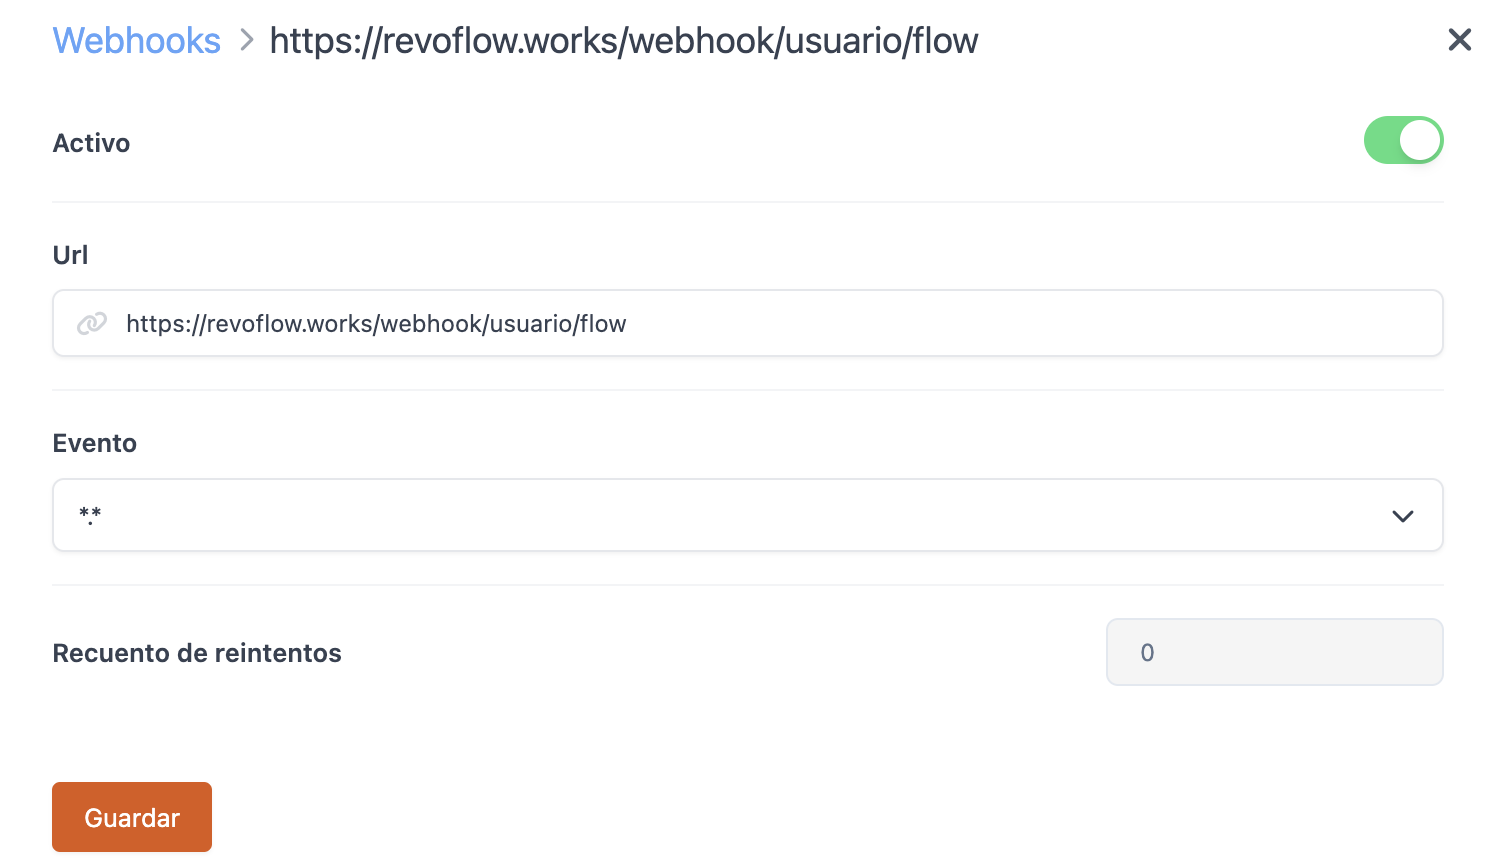
5. Create a new Webhook with the following information:
-
Active: Enabled.
-
URL: https://revoflow.works/webhook/{user}/flow
{user} is the name of your account (tenant) in Revo FLOW.
-
Event: * . *
6. Click Save to confirm.
7. Copy the Webhook secret, located at the top right-hand corner.
2. SETUP IN REVO FLOW - PART I
1. Log in to the back office of Revo FLOW.
2. Go to INTEGRATIONS.
3. From the Add button, search for Revo XEF.
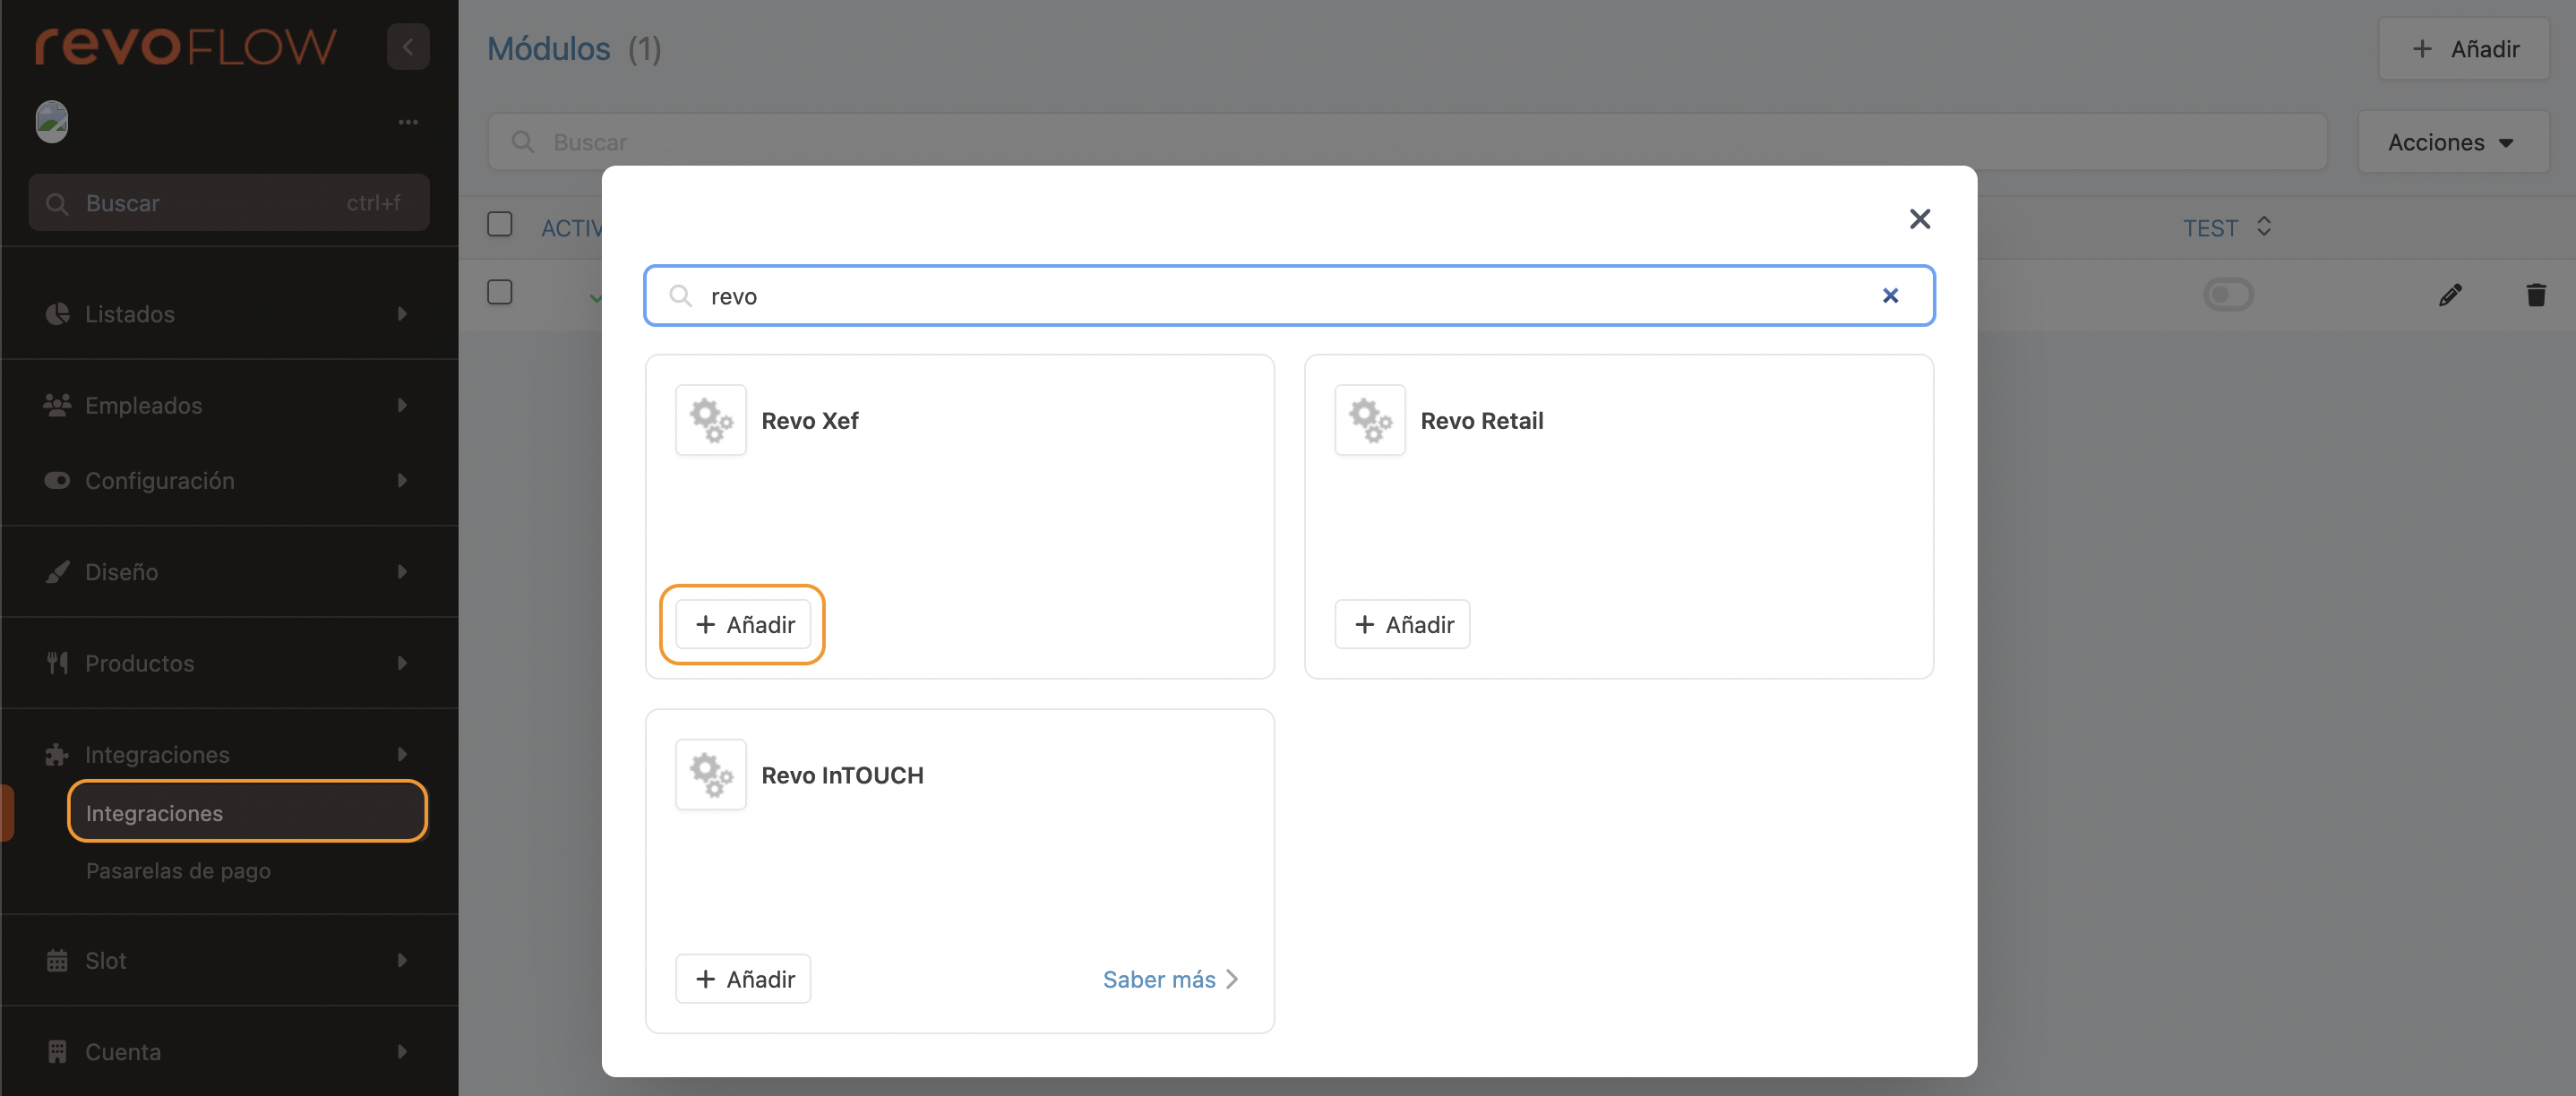
4. Click Add to add the integration.
5. Fill in the following details:
-
Active:
-
Name: Integration identifier.
-
Test: Disabled.
-
Token: The token created in step 3.
-
User: XEF account (tenant) name.
-
Webhook secret: Paste the code copied in step 7.
6. Click Save to confirm.
7. Go to Account / TOKENS.
8. Create a new Token: click + New, choose a name (e.g., XEF), save, and copy the generated token.
3. SETUP IN REVO XEF - PART II
1. Log in to the back office of Revo XEF.
2. Click on INTEGRATIONS.
3. From the Add button, search for RevoFlow.
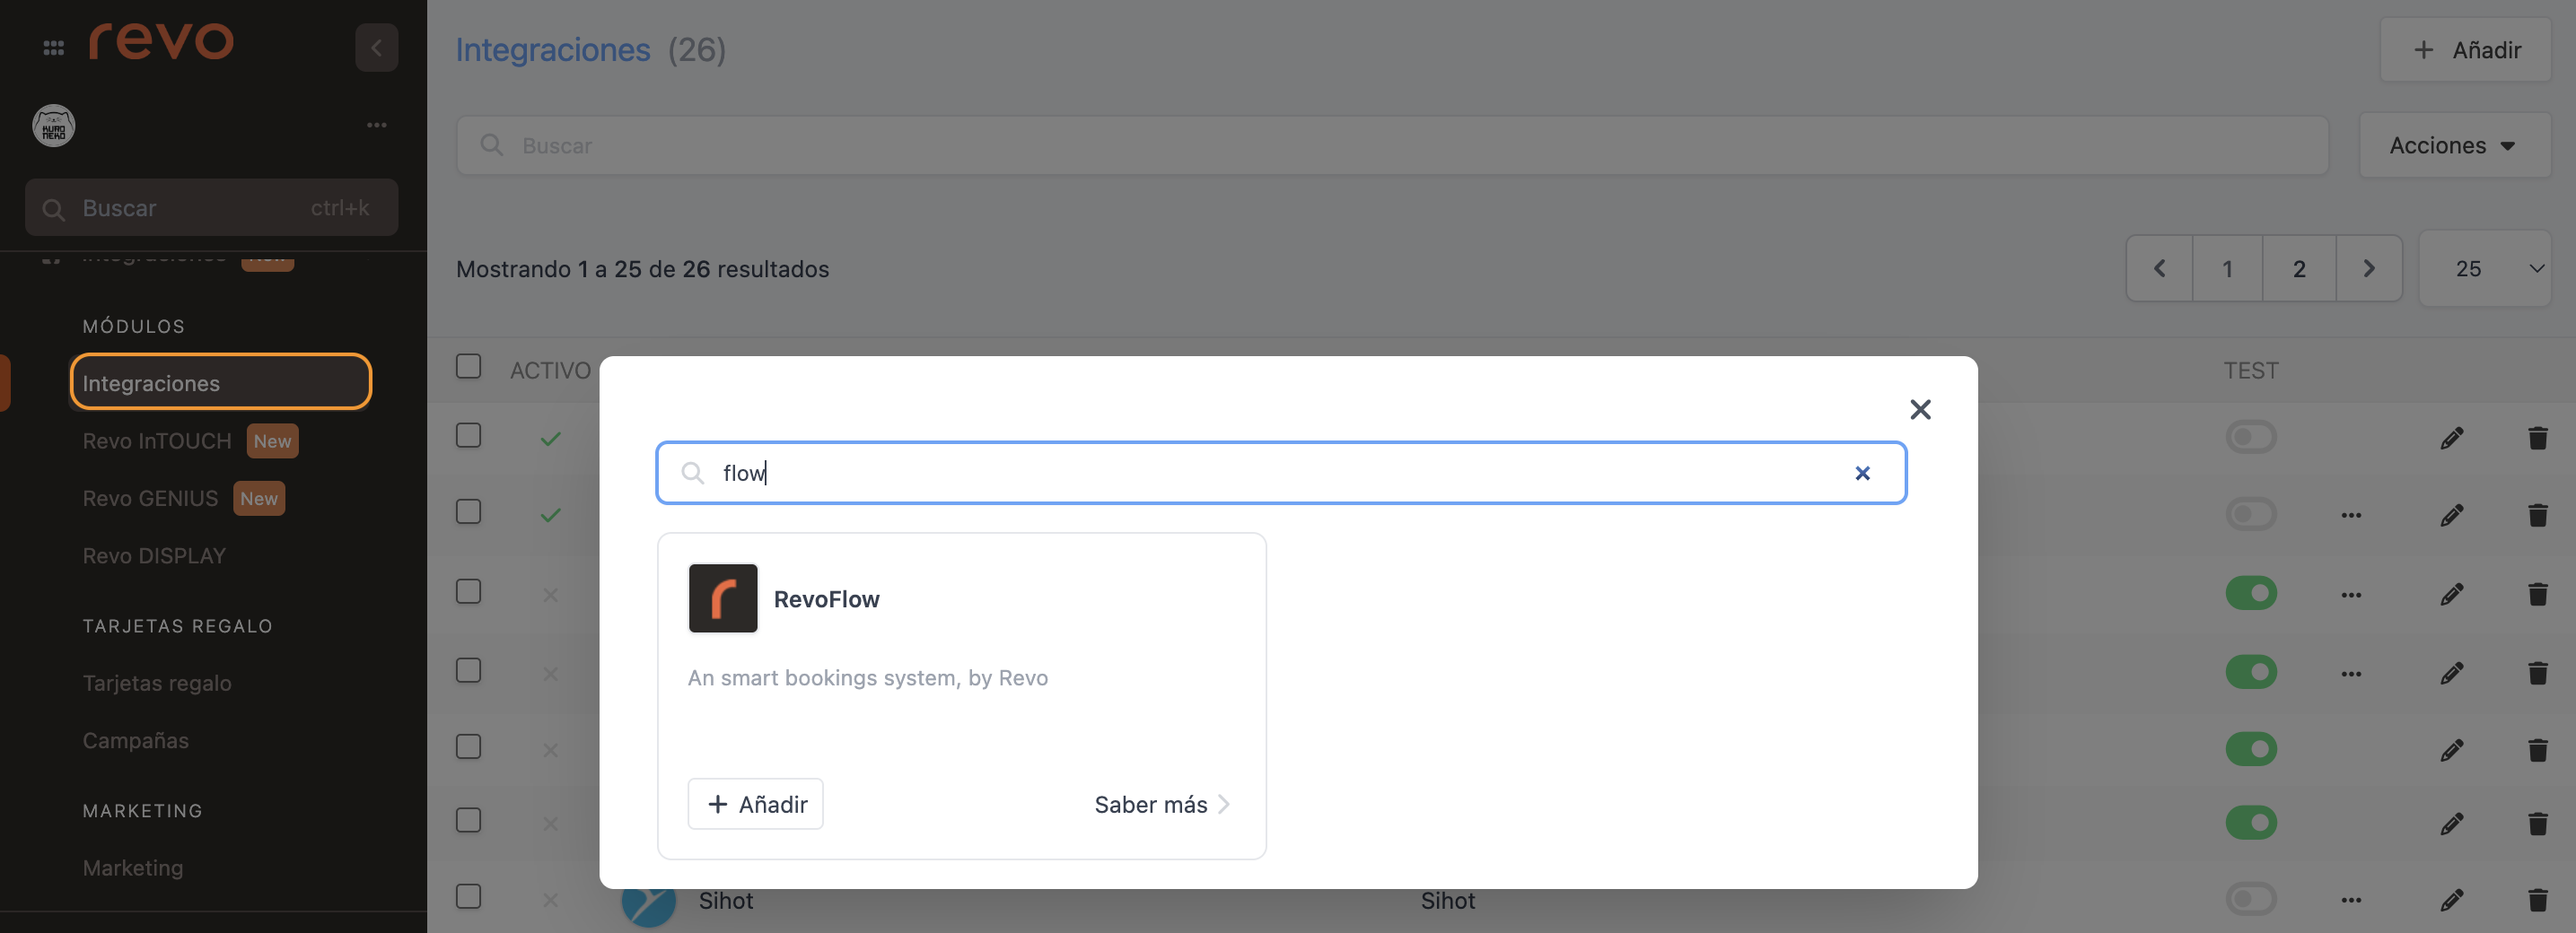
4. Click Add to add the integration.
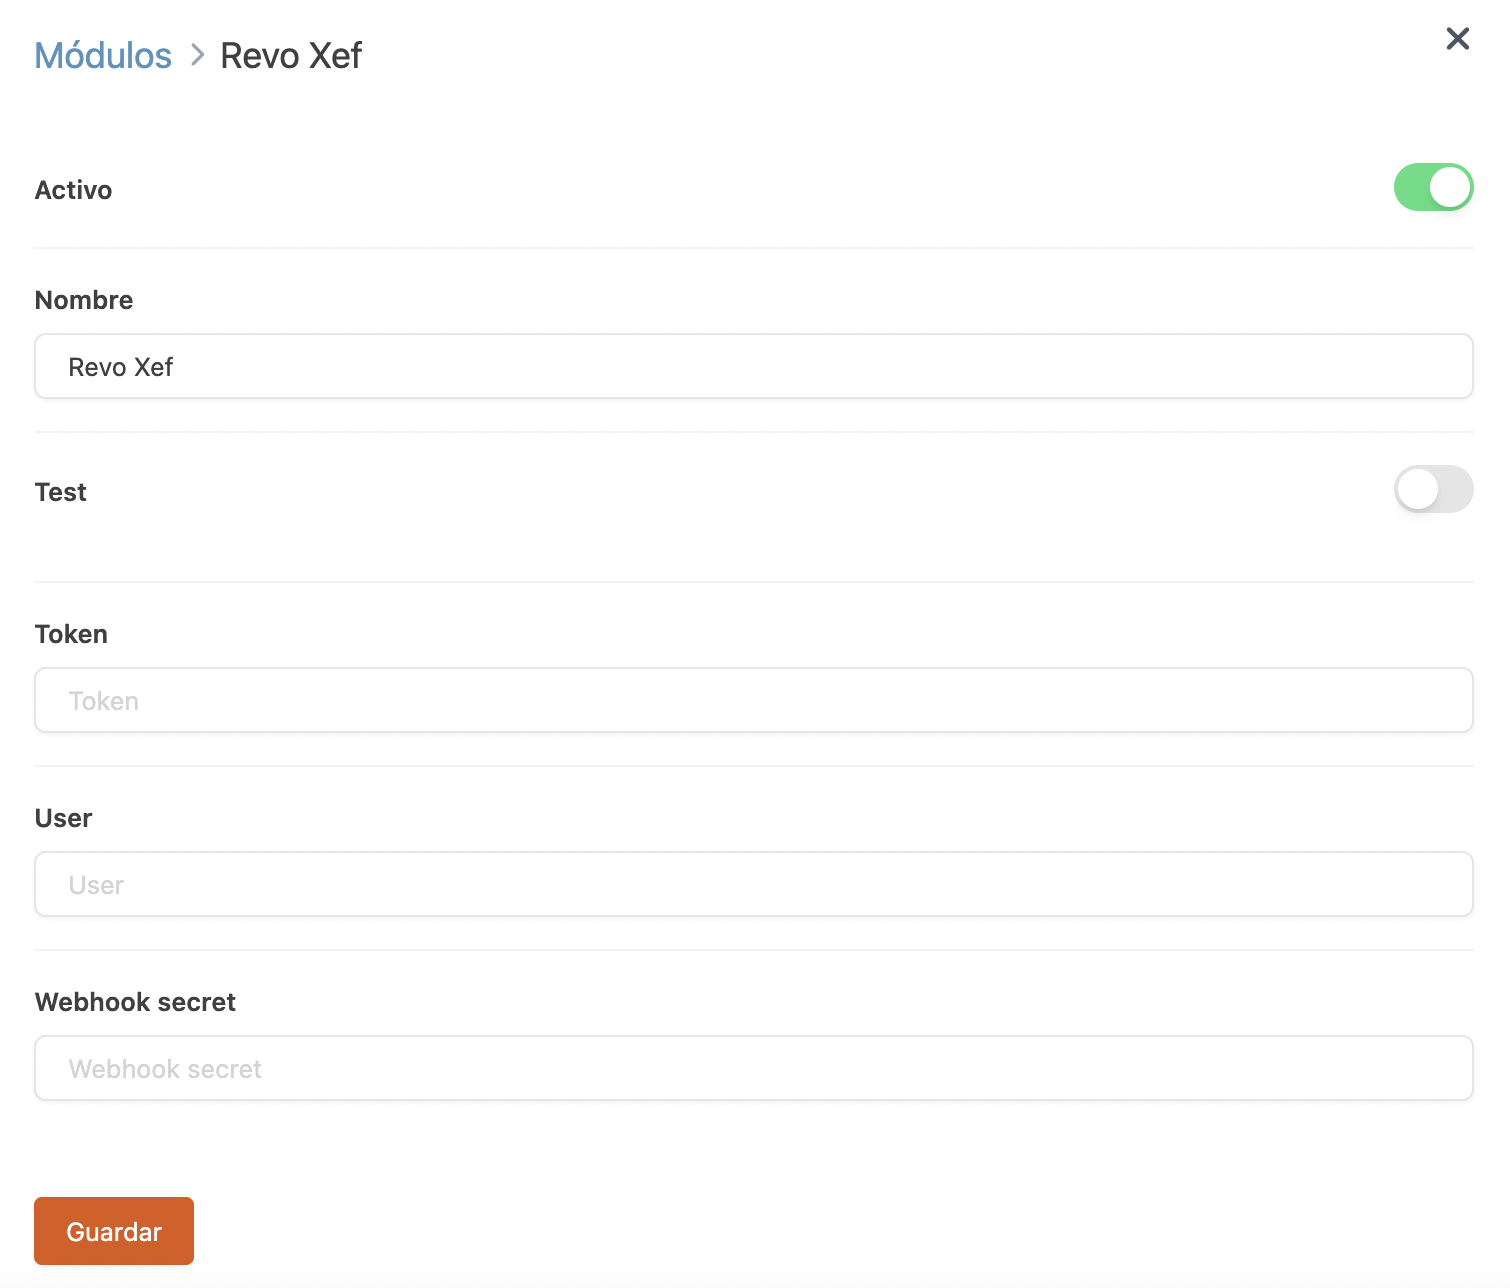
5. Fill in the following details:

-
Active:
-
Name: Integration identifier.
-
Test: Disabled.
IMPORTANT: Do not enable test mode, or you will encounter the error "An SSL error has occurred and a secure connection to the server cannot be made" in Revo XEF.
-
Username: FLOW account (tenant) name.
-
Token: The token created in step 8.
-
Accessory type:
-
None: No accessories.
-
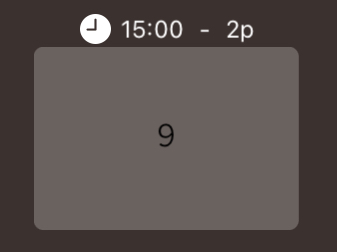
Reservation time: Displays an accessory with the time and number of guests for the next reservation.
-
Countdown: Displays information about the next reservation with warning colours:
-
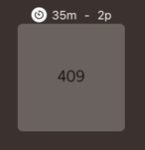
Clock and time: Shows the time of the next reservation.
-
White stopwatch and countdown: Less than an hour remaining.
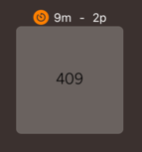
-
Orange stopwatch: Less than ten minutes remaining.
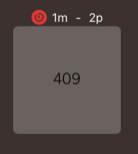
-
Red stopwatch: Shows how many minutes have passed since the reservation.
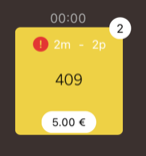
-
Warning: Shows how many minutes have passed since the reservation, if the table is occupied.
-
-
-
Stockroom: Select the stockroom to manage inventory.
-
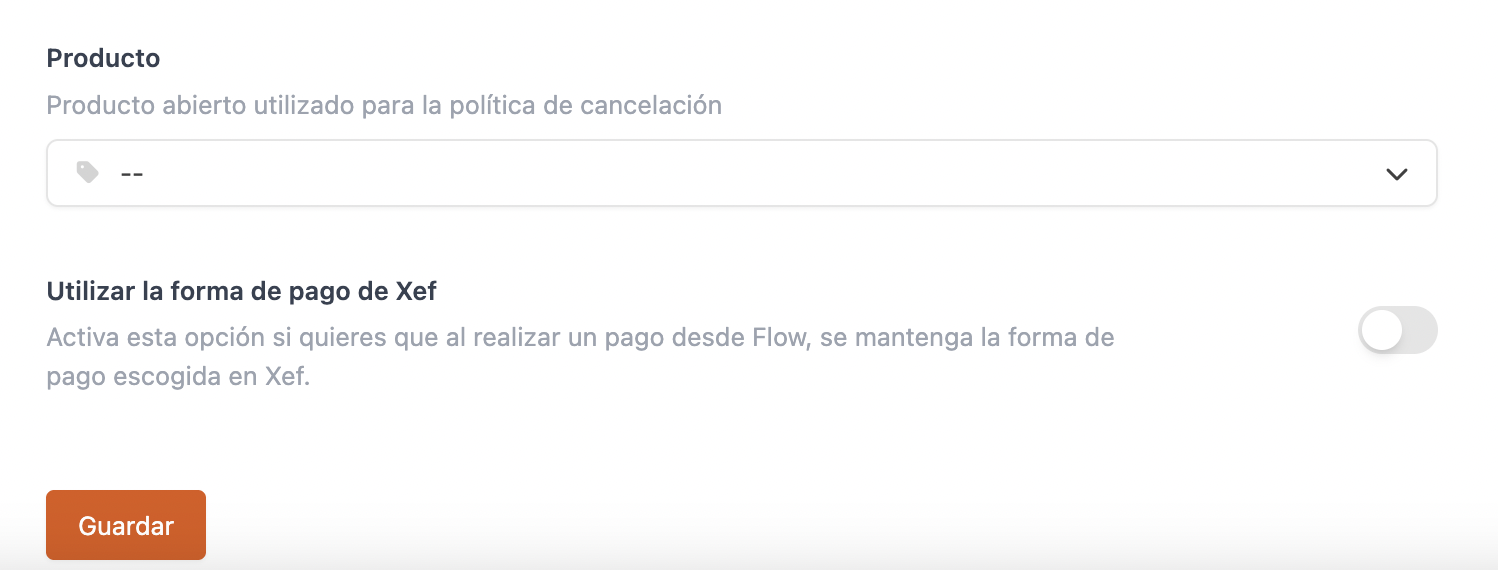
Product: Open product for cancellations.
-
Use the XEF payment method: Enable to overwrite the Revo FLOW Reservation payment method with the one used in Revo XEF when closing the order.
6. Click Save to confirm.
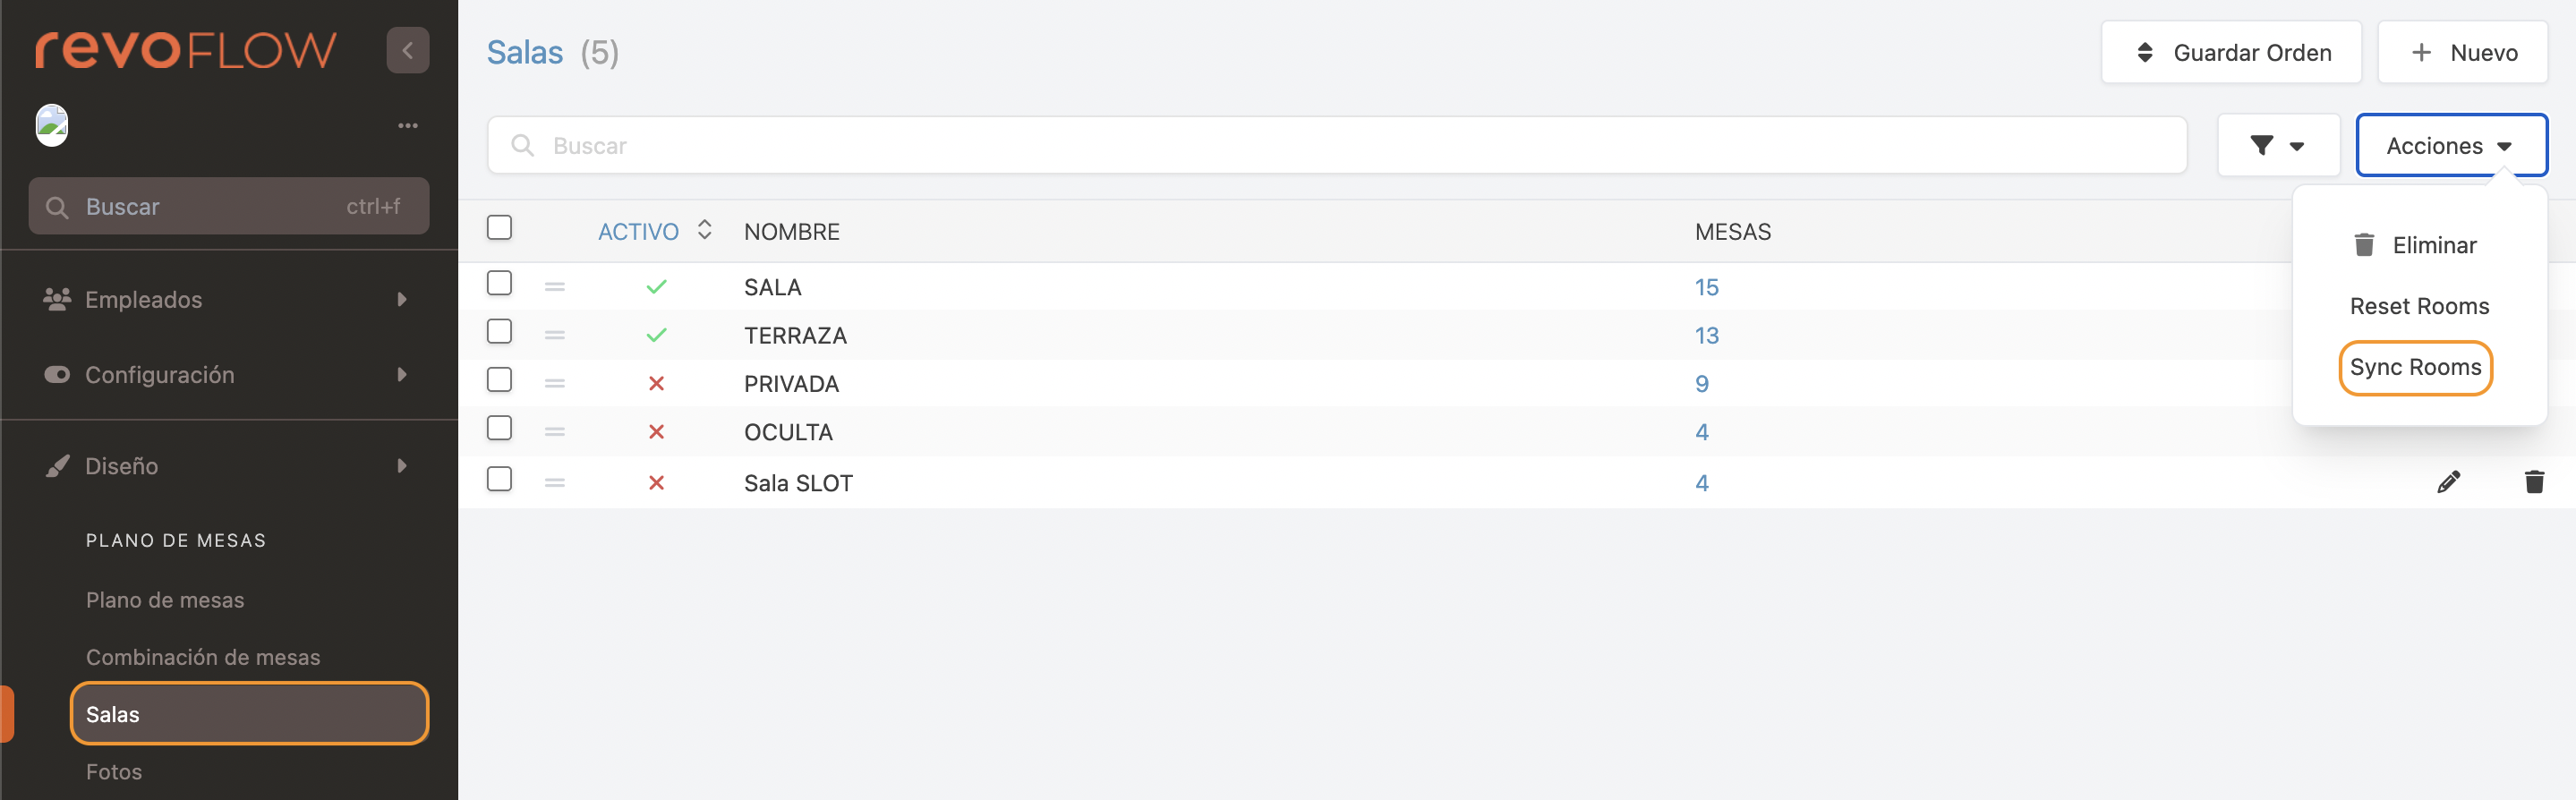
4. SETUP IN REVO FLOW - PART II
1. Log in to the back office of Revo FLOW.
2. Go to ROOMS.
3. Select Actions and choose Sync Rooms.